Monday, April 27, 2020

Rolled Paper Flower Gift with Lollipop

I have seen these paper flowers in photos but hadn't tried them before.  I am making these for a care home as a gift for the residents, but they would make a fun bouquet for your Mom or any occasion.
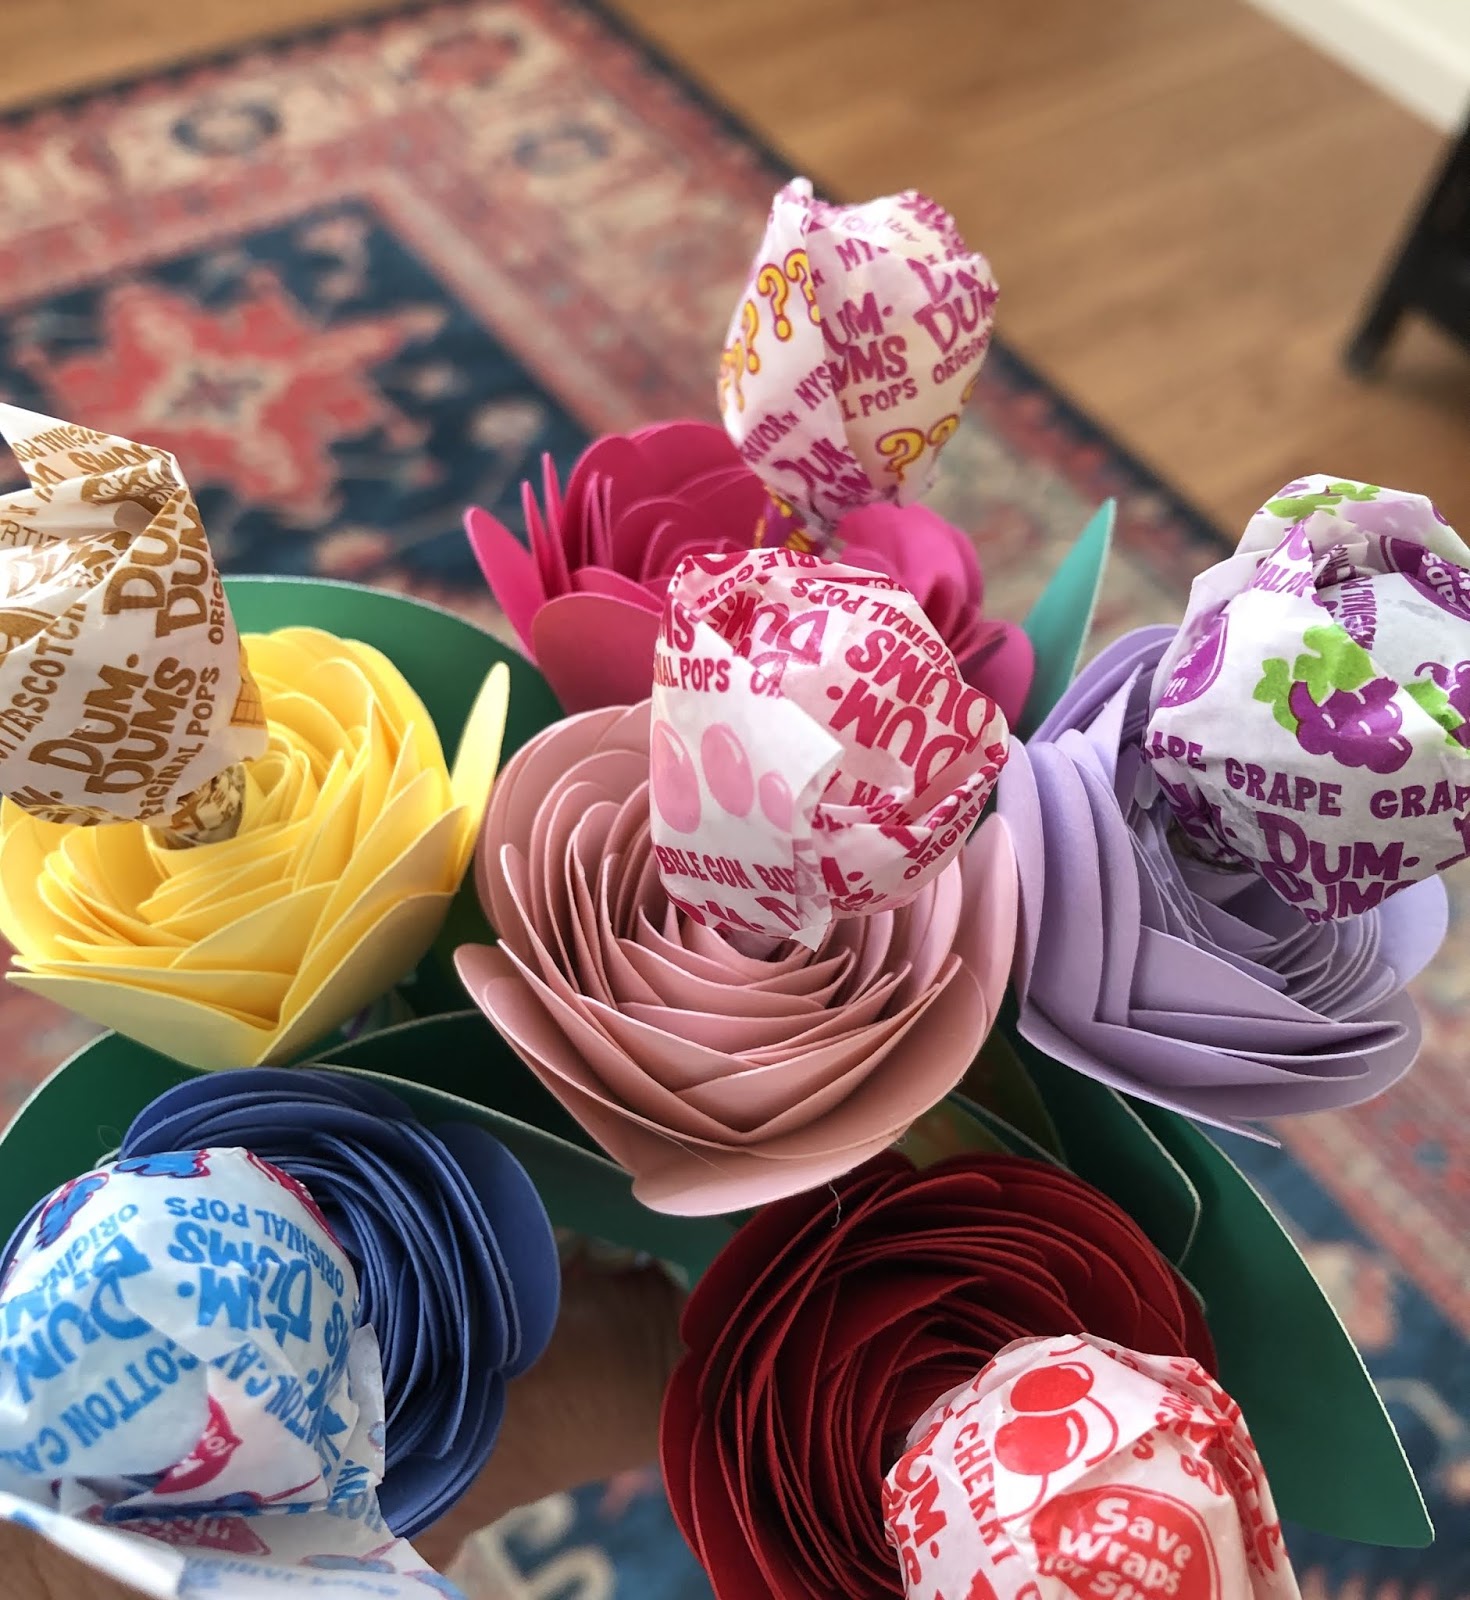
I changed the idea just a little with the addition of lollypops, a paper straw stem and leaves.

You can cut the flower out yourself using this template, or upload the template to your Cricut, or use my cut file.


The lollipops just sit in the flower so they are easy to add if you want to.

You need:
Cardstock
Hot glue gun
Paper Straws
Lollipops optional


Begin by cutting out the flower, I used 8 1/2 X 11 Colored card stock and it used up almost the entire sheet.  Punch a hole in the middle of the end of the flower for the straw to go through.


Begin by rolling from the outside edge onto the straw (cut in half) and glue after one roll around the straw.
Continue rolling all of the flower until you are at the end.  You don't need to glue it again until the end.
I should be rolled tightly like this.  Now holding firmly to the outside of the flower let it unroll a little bit to make a bigger flower more loosely rolled before you glue the bottom.
Place glue on the last part of the flower around the hole you punched.  This will hold the flower in shape.

Press the glued section over the bottom of the flower with the hole punched aligning with the center hole in the flower.  This will be for the straw stem.

Here are the leaves with a hole punched in the lower center and also the paper straw is glued into the center of the flower through the hole in the bottom.

I made a little tag to glue on the leaf and punched it out with a one inch paper punch.
Put a little glue on the leaves in the middle and then thread the straw through and glue to the straw.

Now you can add the lollipop to the center if you want.
Have fun!

Friday, April 17, 2020

Coronavirus Helpers Thank You Card

Here's a cute, quick and easy card to thank all of those helpers and heroes out there!


I use regular 8 1/2 X 11 " card stock to make my cards, I cut the card stock in half to get two 5 1/2" sections.  Then I fold this in half to make the card.

I used my Cricut to make the shapes and here is a link to the cut file:

If you don't have a Cricut here are the shapes:

So Glue the hair and mask onto the card and if you want a cap glue that on too.
The eyes can also be punched out with a paper punch in the 5/8" and 1" sizes.

Glue the eyes on and add the lines on the mask and optional eyelashes and eyebrows.  I used colored pencil to add the details.
Here are the captions for the cards:


Outside:

Inside:


I'm going to try different colors for the hair and caps etc...  Lots of different combinations to come up with!  Have Fun, Be Safe, Be Healthy and Know You're Loved!


Tuesday, April 7, 2020

   Disney Pixar Squash Book


I'm going to be teaching this to elementary students as young as first grade so I kept the images very simple and easy to draw, but you could get as complex as you wanted with this.

I started out by making the squash book itself before adding the images. 

I used construction paper and did two squares instead of 3.

Here is a tutorial that explains how to make your squash book...


It seems a bit tricky at first but once you practice it a few times it's easy!

Next I cut regular printer paper into 4" squares to attach to the squares of the book.


So you are covering all of the squares front and back.  I recommend only gluing the corners instead of gluing the entire square down because of the fold.


Here are some step by step drawing instructions - they are all simple shapes and lines put together to make a simple version of the character from the movies, then colored with colored pencils.


I used a couple of tutorials from you tube to make Mickey Mouse and Donald Duck:

https://youtu.be/Z863jBjnBUE

https://youtu.be/Z863jBjnBUE

Have fun creating!
I'll post some completed student books after I teach this lesson!

Romero Britto Pond Life or Frog Watercolor Art Project

  My 2nd grade students are studying Pond Life and Romero Britto is so much fun I thought they would enjoy making a bright and colorful frog...