Saturday, July 20, 2019

3D Bubble Wrap Printed Pineapple

A fun and easy project any age or ability can create!

I am making these with disabled students so I'm going to use my Cricut to cut out the sections of the pineapple and the top.  

The link to the cut files is:

Using Bubble wrap print your colors on the sections of pineapple.

First choose your colors and I find foam brushes work best for this.
I asked my students to paint the entire sheet of bubble wrap with yellow first and then to add the other colors wherever they wanted them.
Next put the bubble wrap over the sections of the pineapple and push down to print.
You have to do this quickly or the paint will dry before you print.


You can use other colors of paper also:
Once the pineapples are dry fold them one at a time with the painted side inside.
I used a glue stick to glue the sections together.

Once you have all 4 sections glued together open the top and glue the leaves into the top.
 From the top
Example of Student Work : )


Tuesday, July 16, 2019

50th Anniversary of Apollo 11 Snoopy in Space Art Project

July 20th is the 50th Anniversary of the Moon Landing so I wanted to do a fun lesson with my students about this amazing moment in our history.  Snoopy has been a mascot for NASA for 50 years also, and they still award NASA employees with a Silver Snoopy Pin.

I was looking for a fun way to make the moon and found this lesson online:

Using this idea I made my Moon on an 8" circle of white paper with metallic silver and white acrylic paint and aluminum foil stampers.

Using this template I cut snoopy out of white card stock.
 I cut his nose off to make mine a little bit different.
I used 81/2 X 11" Card Stock as the background.  I cut the moon in half and made the edges bumpy then glued it on the background.

Using a cup I covered the spot where snoopy's space helmet would be and made stars by dipping a toothbrush in white paint and scraping my finger over the bristles. 

While the stars are drying draw the details on your white snoopy with a pencil and then a Sharpie.

I tied a scarf around his neck using this yarn:

Now it's ready for Snoopy to be glued on the moon and I drew a circle around the cup with a white colored pencil to make his space helmet.

I found the Apollo 11 image and the flag online.  If you want to add them I just Googled American Flag and Apollo 11.
Some student work - this is a group from an assisted living center where I teach.
More student work from Space Camp


Have Fun Celebrating Apollo 11!!

Sunday, June 23, 2019

Make Your Own Forky Craft From Toy Story 4

I'm teaching some summer camps and couldn't resist the idea of making Forky from Toy Story 4!

I tried to find sporks at the store but couldn't find any so ordered these from Amazon - I decided to go with biodegradable wood sporks.


You'll need:
Sporks
Oil based clay
Popsicle sticks
Chenille stems
Googly eyes
Tacky Glue
Acrylic paint if you get the wood sporks
Rainbow stickers
This is the clay I bought at Michaels


 I found these stickers at Dollar Tree

These are super easy and fun!
I began by painting my spork.
While it drys you can make the other parts of Forky.
Just roll your clay into skinny strips and when you have the face you want attach the two strips on the ends.  Make another red strip for the eyebrows.
I cut a popsicle stick with my pruning shears and glued the two round ends together with tacky glue.
While the glue is still wet create a ball with the white clay and put it on the back of the sticks.
Next push the clay into kind of a mountain on the sticks.  I trimmed my rainbow sticker and put it on one stick.  
The arms are two red chenille stems with 3 rounded bumps on the end of each one.
Then I wrapped each pipe cleaner around the spork and trimmed the extra.  He has long arms : )

I glued the eyes on with tacky glue and the clay just sticks on the wood by itself if you push it a little bit.  Then I just stick the spork into the white clay and he's done!

Student Forkies : )

Friday, June 21, 2019

Cool Colors Polar Bear Watercolor Lesson

A fun project that focuses on cool colors and watercolor techniques. 
You could also use oil pastels or chalk pastels without the glue.
 You can use black glue for a more dimensional look, or outline with Sharpies.  Black Glue makes it easier for your students to keep the colors within the areas and it looks like stained glass when finished.

You'll need:
Watercolor paper
Black Glue - regular white glue with black acrylic paint mixed into it.
Pencils
Brushes
Water
Paper towels
Watercolor paints, I use liquid watercolor

This polar bear is easy to draw - 
I start out with the head in the center of the paper - and make it about 2" tall.
I draw a line for the top of the head and a dot straight down from the middle of that line.
Then I join the edges of the lines to the dot with a slightly curved line.
This creates a curved upside down triangle.  I like to talk about how drawing is basically just combining shapes.
Add another curved line for the nose, curved lines for the ears and 2 ovals for the eyes.
Now two more curved lines from the tip of the nose for the bear's chest.
Two lines from about the center of the face to a little below the middle lines.

Add the bumps at the bottom of those lines for the paws and connect them to the outside lines.
Now add the back legs and paws with another curved line and a bump on the bottom.
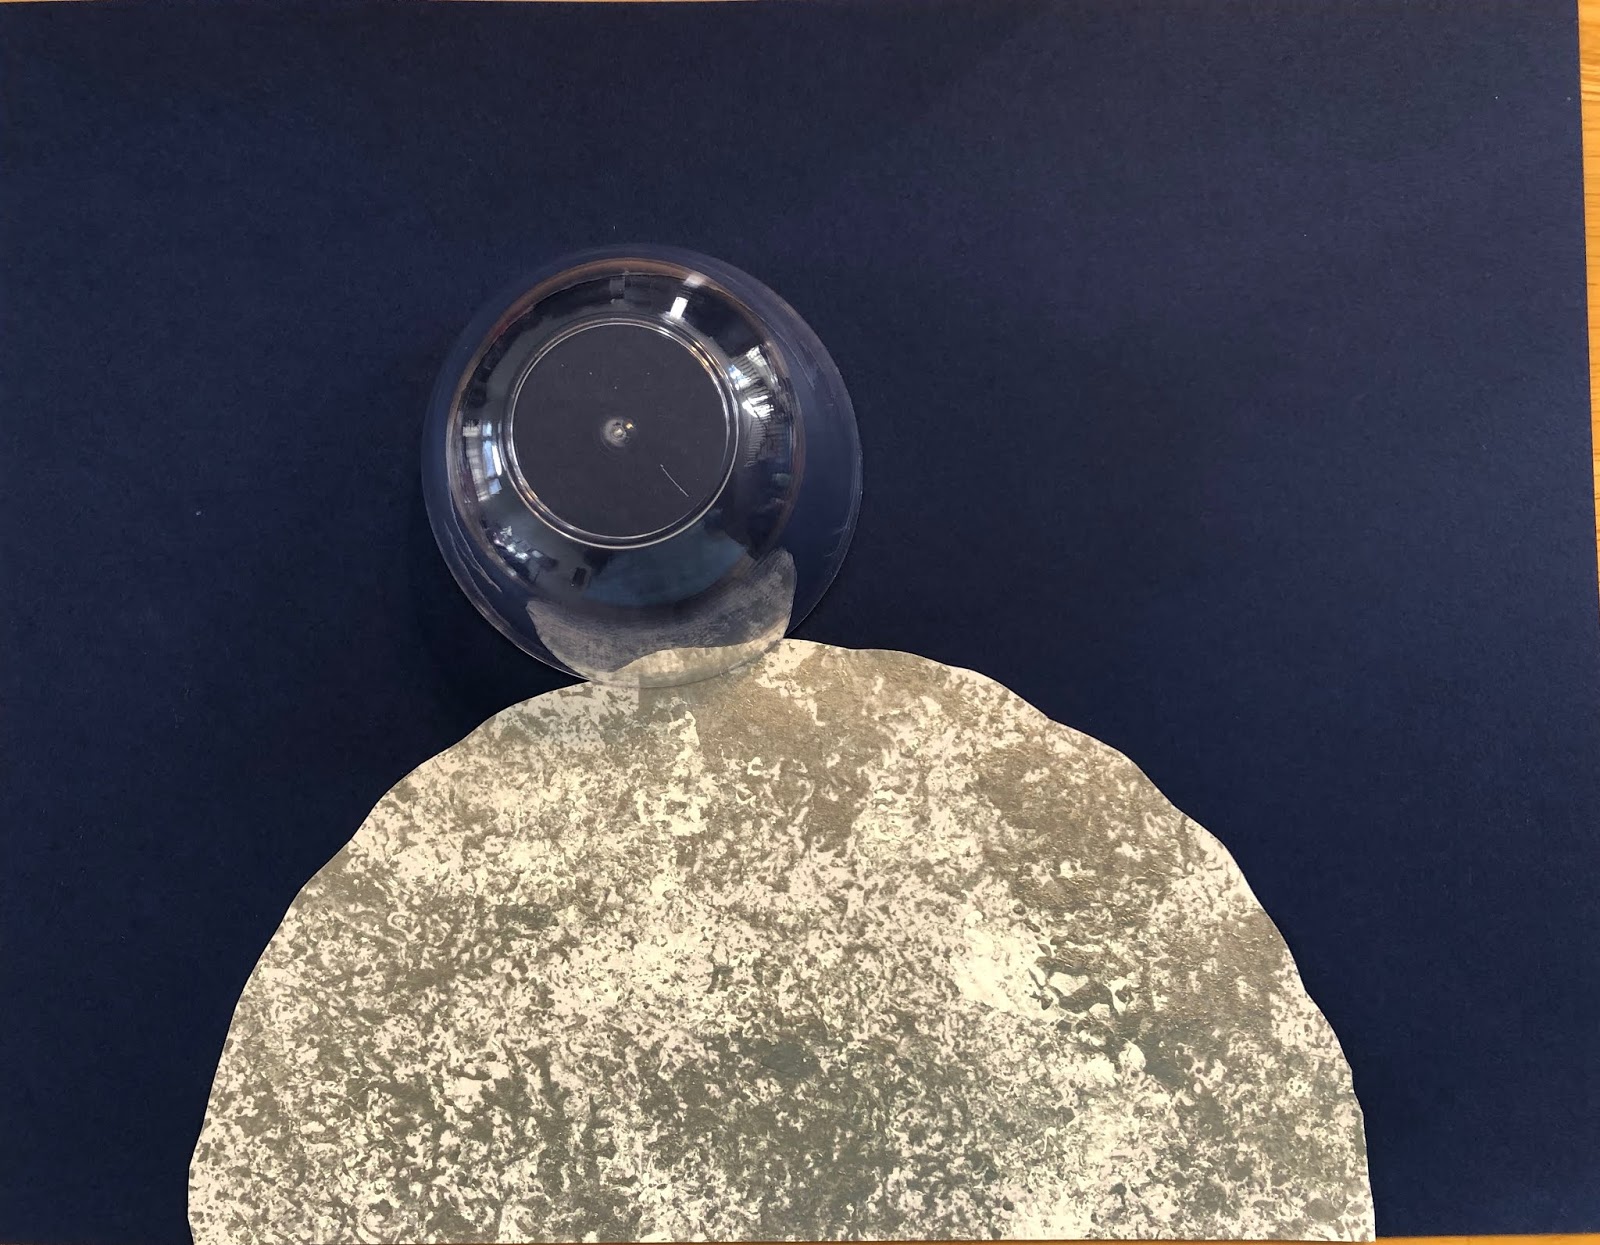
I punched a 1 1/2" circle out of card stock as a pattern for the moon.
I then add some horizontal lines for the sky and mountains etc... and tell them to do the same in whatever shape they choose.
Have your students put the glue on the bear first so they can keep their hands out of the glue when applying the glue.  I have them practice with the glue before applying it to the bear just to get a feel for it.  It's easier to pull the glue towards them that to try and push it away from them.
Then go from top to bottom.
I have them stop here and let it dry overnight, then they add the claws and eyes with a sharpie and erase any extra pencil lines.
With a palette of blue, purple, magenta etc.. we start painting now that the glue is dry.
I show them how to do the graduated wash by starting with just clean water on their brush and painting the chest of the bear.  Then with just a bit of blue on the tip of their brush the go around the edges of the glue lines and let the color disperse in the water on the paper.  If they accidentally get too much blue they can blot their middle section with a tissue or towel. 
The moon is the same technique.

Now they can do washes of color in each section of their painting.
I demonstrated using undiluted color at the top of the area they're painting and then adding water to make it lighter going towards the bottom.  I like having a variation of shades in the washes of color, but I also tell them they can do it however they want.
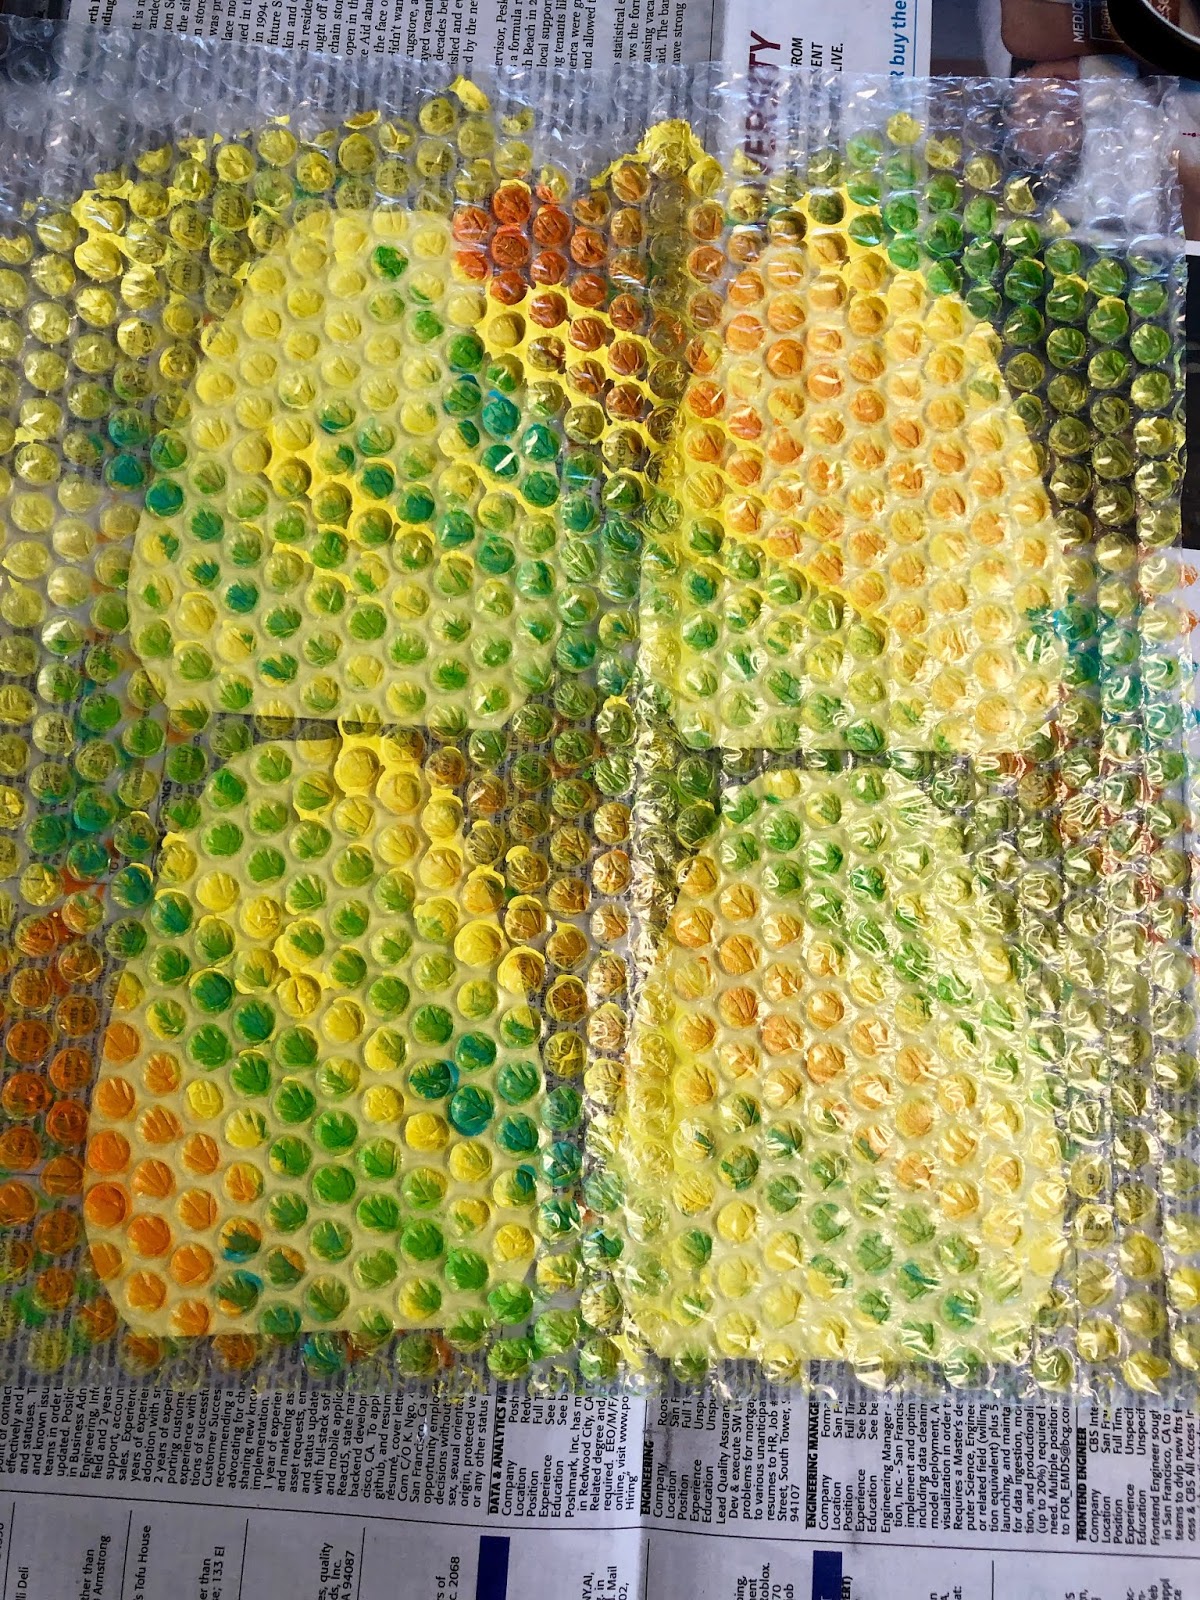
Examples from a camp with 1st grade and up.
This is a challenging project, mostly because the glue is difficult to control, but when they get to the painting it is easy because the glue stops the colors from going where they don't want it.


Romero Britto Pond Life or Frog Watercolor Art Project

  My 2nd grade students are studying Pond Life and Romero Britto is so much fun I thought they would enjoy making a bright and colorful frog...