Wednesday, January 7, 2015

Northern Lights Winter Landscape Art Lesson

I would love to see the Aurora Borealis someday, but for now I'll settle for teaching it!

I think the kids will really enjoy the freedom of this project, although we will learn about Aurora Borealis and look at photos, ultimately they will create their own colors in the sky.

Materials:
Black Paper
Chalk Pastels
Oil Pastels
Pencils and erasers
Paper towels

I was inspired by these photos:
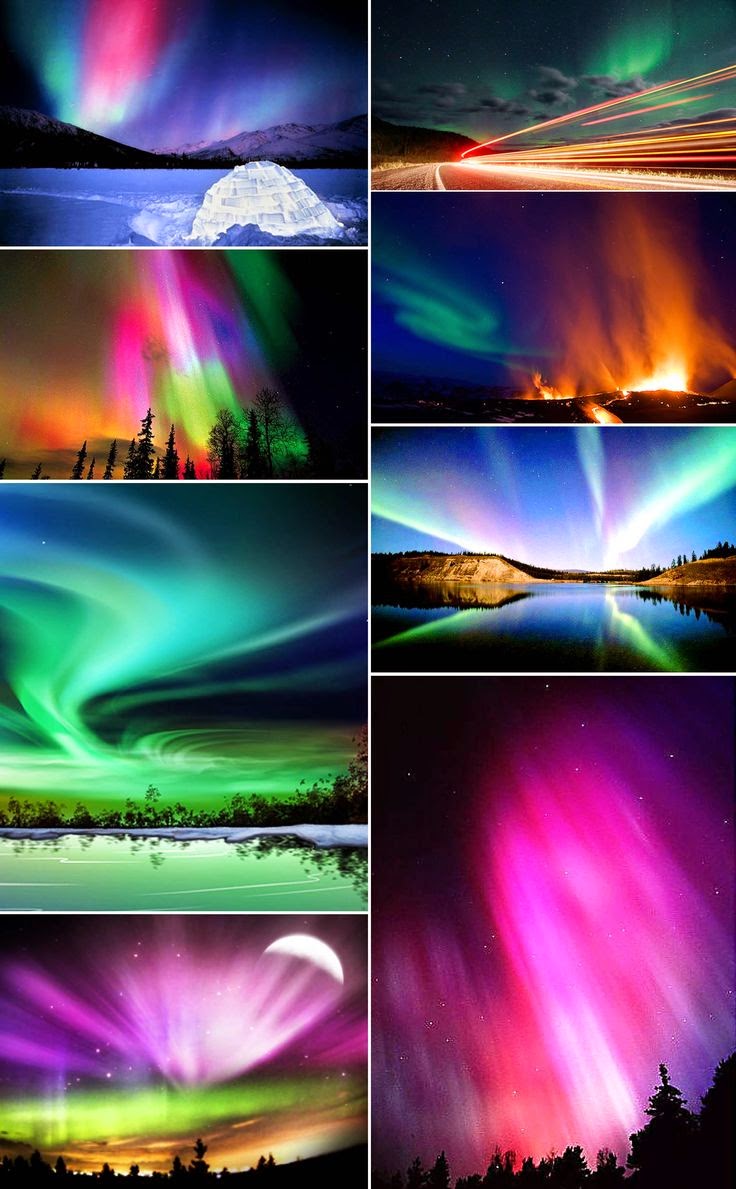
I'll also show them this video:
Which is a gorgeous film of the Aurora Borealis 

Then we'll talk very simply about what creates the magical lights in the sky.
Energetic particles (Solar Storm) are released by the sun and travel to earth's atmosphere where they get caught in the earth's magnetic fields.  These magnetic fields grab the particles and bring them to the North and South Poles of the earth.  When the particles combine with Oxygen (greens and blues) and Nitrogen (reds, purples) gas in the thin upper atmosphere of the polar regions they glow.  Greens are the most common and closer to the earth, Reds are usually higher in the sky. Although Auroras happen during the day too - they are only visible at night.  Just the opposite of a rainbow.
The Northern Lights are called Aurora Borealis and the Southern Lights are called Aurora Australis.

I'll start the lesson by demonstrating and then having them draw a line horizontally across their paper about an inch above the bottom.
Then I'll draw the hills and so will they.

I'll outline each area so there is a black space in between to define the shapes.
At this point they will watch me demonstrate the oil pastel drawing at the bottom.
I didn't use any white for this only a few greys, blues and purple.
The area at the bottom can be either a field of snow or even a river filled with chunks of ice, and mountains in the background.

After they do their own oil pastel portion I'll demonstrate the chalk pastel and have them do some guided experimenting before turning them loose to create.  I'll hand out some paper towels for the students to wipe their hands since these materials are messy.
They should start with just a few lines drawn in pencil to guide them with the Aurora Borealis.
First lay down an area of dark blue using the side of the chalk pastel - press lightly and keep the area just above the mountains empty/black.

 I used Greens and Blues - mostly on their sides at first and drew with an upward motion, trying to show movement in my sky.  I will give my students another piece of black paper to experiment on, and emphasize how the direction they use to draw with the pastels will create movement within their landscape.  I will also emphasize pressing very lightly with the pastels on the paper - putting the color on where they want it and leaving it alone.  They should work dark to light.  That's how they get the colors be seen separately and not all blended together into one muddy area of color.  
I'll give them a few minutes to experiment on another piece of paper.
I didn't use any white for the Aurora - I 'feather lightly' used some blues, then purple and finally a little red in the top ones.  I added some light green and yellow to try and get them to glow like the photos.
I used my finger to blend the lower edges of the Aurora - I will demonstrate this for the students and have them try it too.

The biggest challenge for this project is going to be getting them to stop every now and then to look at their drawings and decide if they are finished.  It is very common when students are using new and/or unusual materials to get caught up in the activity of experimenting with them, losing sight of how the composition looks and overworking it.  
The layers of color go on very quickly - so I'll be stopping them a few times and asking them to access their progress.
Once they decide they are finished it's time to add the stars to the sky.  I experimented with both chalk and oil pastels - I think the oil pastels worked best.  They should use varying sizes of stars/dots - some tiny and some larger, and just look at it as they are working to see if they have a balanced amount of stars throughout the sky.
A great winter landscape project with Science and Art combined.

1st Grade Student Work:


Friday, January 2, 2015

2015 Year of the Ram Chinese Brushpainting Banner and Chop Art Lesson

2015 is the Year of the Ram (sheep or goat) for the Chinese Zodiac Calendar.  Many schools are studying Mandarin so this is a great connection to that curriculum and Social Studies too.
Supplies:
Calligraphy or Watercolor Paper about 12"X6"
Calligraphy Ink or Black Watercolor Paint
Brushes
Pencils and Scissors
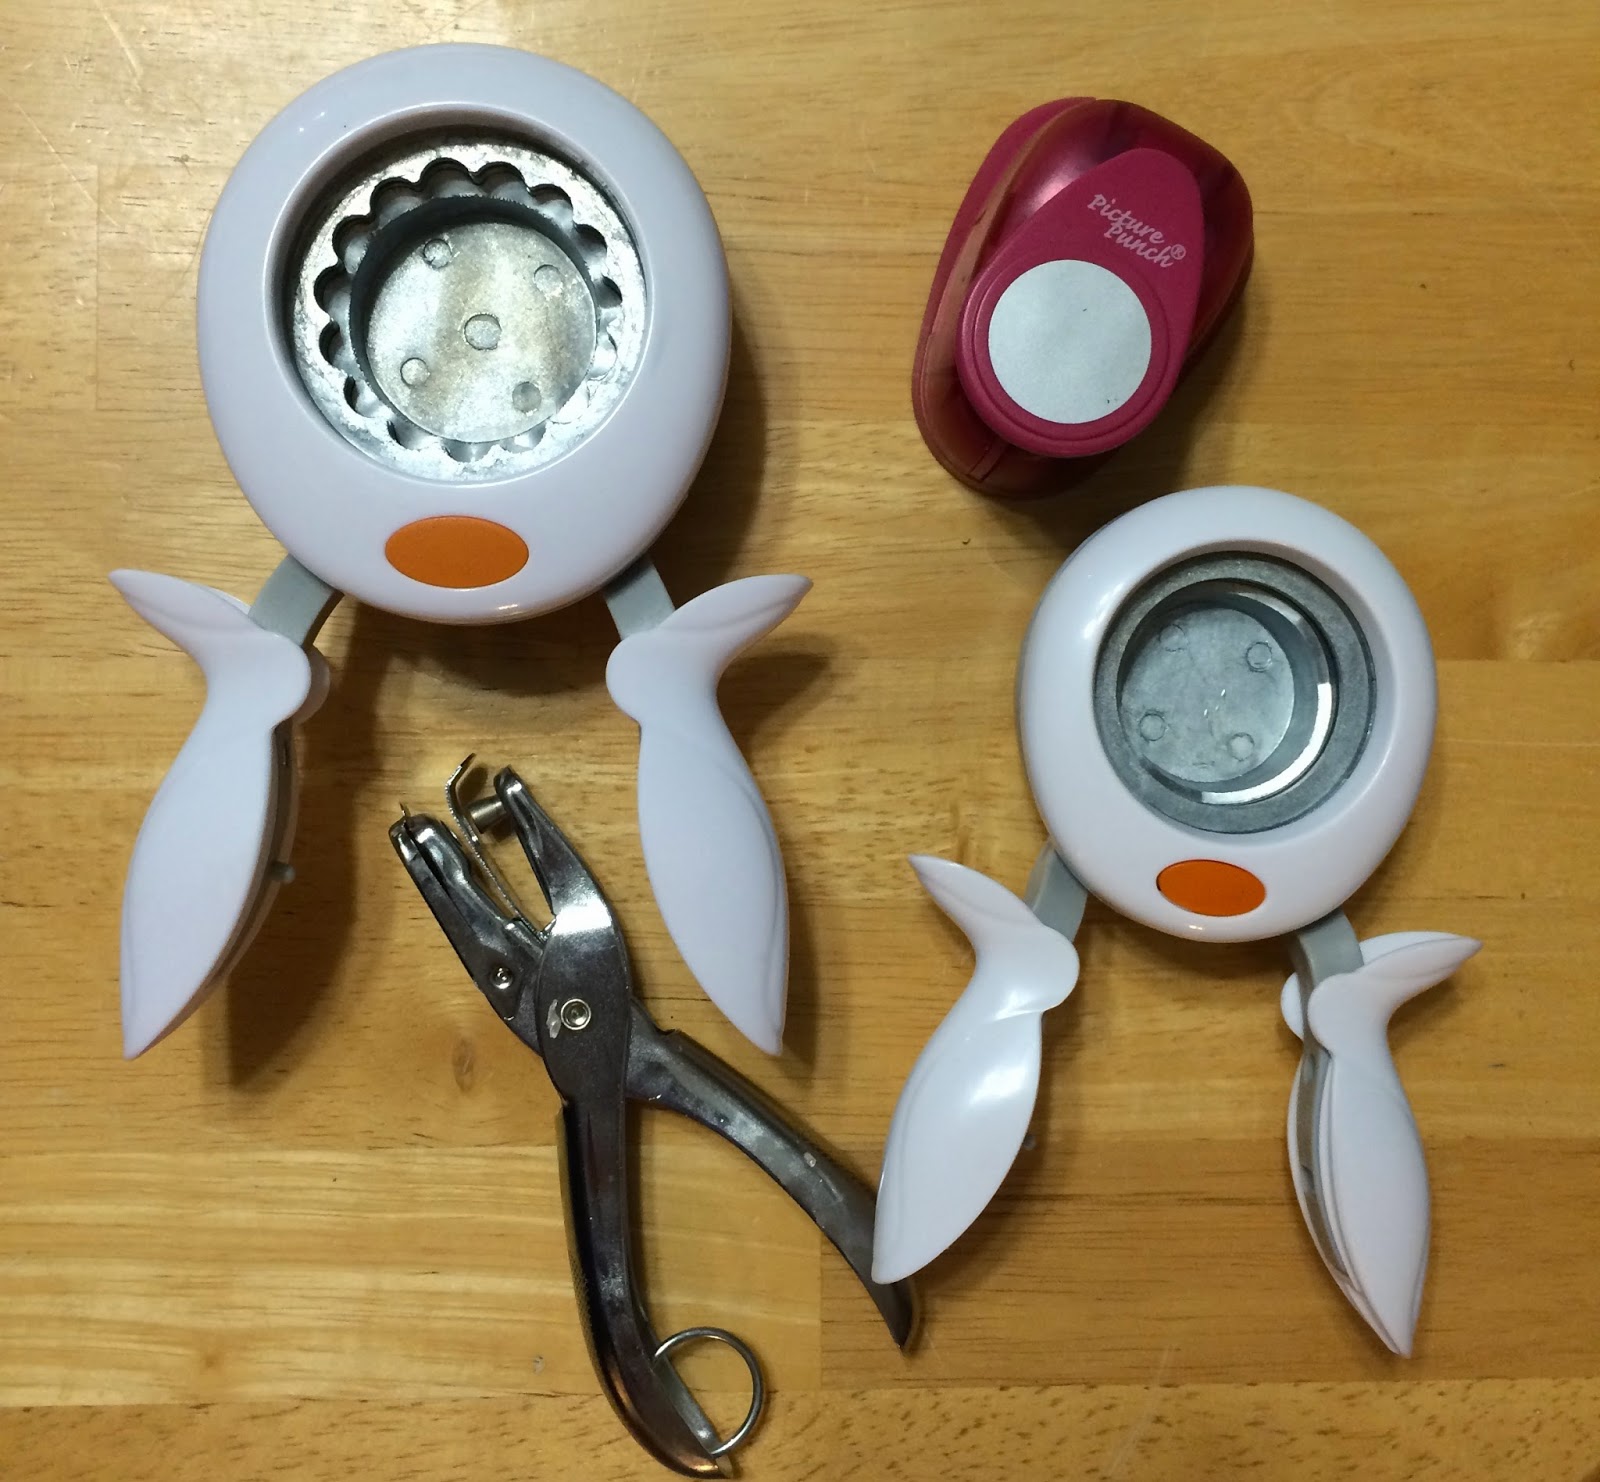
Hole Punch
Chopsticks
Red String or Yarn
Corks
Styrofoam Plates
Red Ink Pad
Hot Glue Gun

You can do this as two lessons - one to create the "Chop" and another to do the ink drawing - or do them together.  

First the Chop
CHINESE CHOP: The traditional Chinese identification stamp is carved from soft stone, then printed in red ink to identify both artists and collectors.

I'm going to give the students a piece of foam cut from a disposable foam plate - this will be their "soft stone" to carve.

They can choose what symbol they want for their Chop.  I chose the Rabbit because I was born in the year of the Rabbit and I also made a Chinese symbol for the Rabbit.  I'm going to suggest they choose a similar type of symbol so that it represents them personally.  I'll have some handouts printed for reference.


If they choose a letter they will need to draw it backwards or else it will print backwards.

I'm going to have them practice on some scrap paper first before they draw into the foam.

They can press a cork into the foam to get the outline of the cork (they need to stay inside this outline) draw their symbol lightly first, and then push harder with their pencil to get a nice line in the foam.
The lines they draw will print white, all the other areas will be red.

Have some extra time or are the students really excited about this project?  Have them make a double sided Chop with 2 different symbols - one on each end.  


Hot Glue the styrofoam onto corks.
Put these aside with their names written on the cork.

Now for the banner - 
I went to a Daiso Japan store in Japantown and found these great supplies for $1.50 each.


If you don't have access to these supplies just use watercolor paper and black watercolor or India Ink.

I was wondering how the quality would be, but the paper really was nice and smooth for the ink, and the brush and ink were perfect too!

I cut the paper in half because it is really long.  
I'm going to have the students do some sketching of the Ram and the Chinese symbol for Ram on scrap paper.  The Ram is just a few simple lines - I love the swirly horns and squiggly beard - I think the kids will too!
Then they will lightly sketch their Ram and Chinese symbol on the calligraphy paper.

We'll discuss how different it is to work with a brush instead of a pencil.  How it is desirable to have thick and thin areas in the drawing because of the brush so they should embrace it.  Have them experiment with using the tip of the brush and also dragging the brush along the paper sideways.

I'll demonstrate painting the Ram for the students and then they can do their own.

I added the 2015 at the bottom freehand - they can decide if they want to add it or not.  Give the ink a few minutes to dry.

Once the ink is dry they can ink their Chop (just a regular ink pad in red) and stamp it onto some scrap paper to get a feel for it - before stamping on their banner.

You can add a red border to the top and bottom of the banner if you want.

For the final touch punch two holes in the top of the banner with a hole punch.  Thread a chopstick through the holes and add a loop of red string for hanging.
  
This might be a good time to talk about the color red and how Red is the Chinese national color and represents happiness, beauty, success and good fortune.
Red is used extensively in everyday life. Red lanterns adorn businesses and residences. Double rows of red "Xi" (happiness) letters are pasted on gates and doors. People wear red during weddings, festivals and other celebratory events. Red envelopes stuffed with money are given as gifts during Chinese New Year.

I'm tempted to add some gold to this project somewhere, but I also like the simplicity of the red and black.
Gung Hay Fat Choy!
2nd Grade Student Work:


Thursday, December 18, 2014

Oil Pastel Christmas Tree in a Snowstorm

This is a great project that students can succeed in drawing all by themselves because it's quite easy and very forgiving.  They'll learn some basic oil pastel techniques (work dark to light), and begin to see how the oil pastels blend on the paper.

Begin with black construction paper and they can draw the window with a ruler like this:
Want to add an element of math to your lesson - here's your chance.
I taught young elementary students so I brought a rectangle of white card stock for them to center on their black paper and trace with white pastel.

Next have them put a green dot just below the top of the window and centered in the middle.  Demonstrate making a very small triangle of up and down lines with a dark green pastel.  Demonstrate continuing this technique, making the lines longer and wider as they go downward.  They will continue to do this until the tree fills up the window and is at the bottom - or almost.

Tell them not to worry if it isn't perfect - nature isn't perfect and the snowstorm will hide any flaws they think they see.
Now add a layer of lighter green lightly over the darker green - leaving some of the darker green visible.
If you have another green,  layer that one too - giving the composition depth.
Finally add a yellow green.
The next step is adding red lights and a yellow star to the top.
I told them to add 7 or 8 lights, and to randomly place them on the tree, keeping in mind that there will also be blue and yellow lights.  They will have to draw the red on dark to get it to show up over the green.  We will add the lighter accents later.
Repeat this step for the blue and the yellow.
To make the lights glow add a little bit of pink, lt. blue, and lt. yellow to the center of the matching lights, and then add a tiny bit of white on top of the lighter colors.  The star can look like it's glowing by smudging it with a finger and then redrawing the lines of yellow in the center.
The next step is to do the outside of the house.  I chose brown like a log cabin and did stripes, not worrying too much about spacing - it doesn't have to be exact.  When I had the first side done I used a ruler to match the other side - see above.
I added another shade of brown and then put a very light shade of grey over that.
Now demo measuring and drawing the window panes on the window with a ruler and white pastel.  They will have to go over the green of the tree several times with the white to cover the tree.
Then show them how to do the vertical lines to finish the windowpanes.  They will need to outline the window and make it thicker than the window panes inside - they can also add a little drift of snow over the bottom of the window if they like.
The snowstorm is added by doing feather light white pastel lines over the entire composition both horizontally and vertically.
Then they add large and small snowflakes all over until it looks like it's very cold and snowy - and finished!
Brrrrr!!!

This is inspired by a Pin on Pinterest I found, but there weren't any directions.  I changed it a little bit.


Monday, November 24, 2014

Candy Cane Elf Christmas Ornament Craft


With Elf On A Shelf so popular right now, I've seen several of these cute guys on Pinterest and wanted to try making my own.  When I found some plastic candy canes at Dollar Tree I decided to make my own version.  
These ones won't get taken apart to eat the candy canes after all that hard work!
Here is a link to the one I saw on Pinterest - she uses die cuts I think, which I didn't have.

So my version:
You'll need:
Candy Canes
Cardstock
Google Eyes
Pom Poms
Jingle Bells
String/yarn/or ribbon
Colored Pencils
Hats - Or make your own


I found the Candy Canes at Dollar Tree and the Hats at Hobby Lobby

Begin by hot glueing the candy canes together at the top, I'm going to have mine pre-glued before I try and teach this to my students.
Add the string by looping it between the candy canes.

Next cut out the mittens, shoes, clothing, collar and head - all on a fold out of card stock- pattern below.


The string is threaded through the top of the elf clothes and collar and then they are glued on the candy canes.  Tacky Glue works well.
Put some glue inside of the shoes and mittens and glue them over the ends of the candy canes.

Punch a hole in the back of the head, draw the hair and other facial details, glue on the eyes and the hat.
Thread the string through the hole in the back of the head and then glue the bottom of the face over the top of the body.  See below:

Add any embellishments you desire - pom poms, bells, glitter, gems etc...

Now they have their own elf to decorate the tree year after year, or to play with.

Student Elf

I was featured on Fun Family Crafts


Tuesday, November 18, 2014

Let Heaven And Nature Sing Nativity Art Project


Every Christmas I can't resist doing at least one Baby Jesus Art Project.

Supplies needed:

Colored paper - I used cardstock - blue, brown, black, white, pink, lt. and dk. grey, yellow.
glue
silver glitter
gold doily or gold glitter
Paper Punches
Fine tip black marker
pencils
Pink colored pencil
Star shaped paper plates

You can pre-punch the shapes out of paper, or give them the paper and the punches.  They like using the punches and there are enough different shapes they would be able to trade back and forth.  You could also have them trace different sizes of circles and cut them out.

I was thinking this would be an easy project for young students to feel very successful.  It also shows them how easy it is to use simple shapes to represent animals etc...


The smaller circles are 1" and the larger are 1 1/2", the noses are made with notebook paper punch, and the sheep are a 2" scalloped circle punch.

Below is a pdf pattern for the manger, blanket and cow and donkey ears and horns.

I'm going to cut a few of the manger and blanket out of card stock for them to trace - I think they can do the ears and horns freehand.

Demonstrate assembling the animals and Baby Jesus including adding the faces and rosy cheeks. 

Baby Jesus has a halo made by cutting a gold doily apart in a circle and putting it behind his head.  You could also use gold glitter. 

Once they have all the animals assembled and Baby Jesus they can arrange them on the blue background before gluing.

They can add some silver stars with a few drops of glue in the sky covered with the glitter.

I found some metallic gold star paper plates at the Dollar Tree and used those for the background, but you could also cut out star shapes.

Print out some banners that say "Let Heaven and Nature Sing", "All Hearts Prepare Him Room", or "O Come Let Us Adore Him" to glue at the top.

Create a hangar and glue it to the back - I used some tinsel stars on gold wire that I had - and hot glued it to the back. Yarn, ribbon or string would work too.

Merry Christmas!


Up Cycled Egg Carton Animal Portraits

  I have been seeing these on the internet and decided to try making them with my Summer Camp. They remind me of victorian style portraits w...