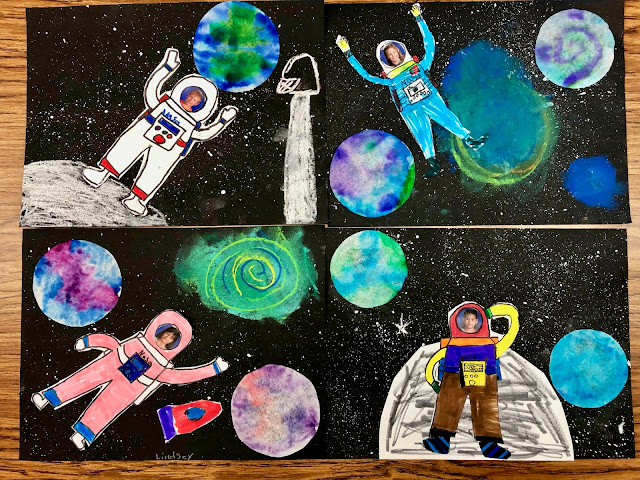
There is a lot to do in this lesson so I pre cut the coffee filter circles to make the planets also.
You will need:
Coffee filters
Water Based markers
Sharpies
Spray bottle
Toothbrush
White Tempra paint
Black and White paper
Scissors
Glue sticks
I started out by showing them the project without anything glued down so that I could move things on and off my space background. Showing them lots of possibilities. Then I said we were going to make the planets and the space first so they could dry while we drew our astronauts step by step.
I brought in a large box to keep the white splatters from going everywhere. They put their black paper in the box and then used a toothbrush dipped in white paint to make the stars. I only needed one dip in the white paint to make all of my stars. I used my index finger and brushed the bristles over the black paper to make the stars. This is a quick activity.
I demonstrated both the stars and the planets, then divided the class in half and had them do the paint splatter stars or the marker planets.
The planets are made with coffee filters cut into circles. I put these images of planets on the screen while they worked on theirs. I told them they could make realistic planets or imaginary planets.
Color the planets with water based markers and then spray them with water from a spray bottle to blend the colors together and get a watercolor effect. This is another quick activity - just suggesting shapes as they will all blend together.
I had another station set up in the classroom with newspaper all over the table and 2 spray bottles.
They would spray their planet with a couple of sprays of water, put them on a dry newspaper and take them back to their table.
Once all of the students had their stars and planets at their table to dry we did a directed drawing of the astronauts.
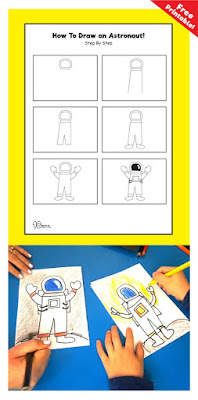
I found the instructions for the astronauts on Pinterest:
We did the drawings step by step and the students did great - the biggest challenge for them was the boots, arms and gloves.
We started with a one inch circle that I had punched out of card stock which they traced to make a place for their photos later.
After they drew their astronaut I asked them to go over all their lines with a Sharpie and to color their astronaut any way they wanted. They also needed to cut them out. While they were finishing their astronaut I asked them to come and get their faces put on their astronaut.
I put these photos up on the screen while they finished their project.
They had access to more paper and pastels to add more objects or details to their composition. We had already done Nebula so some of them chose to add those, some created black holes, others made a glowing sun or drew their moon.
It was a super busy project but the students were engaged the entire lesson and proud of their finished art! I love what they came up with!
Examples:
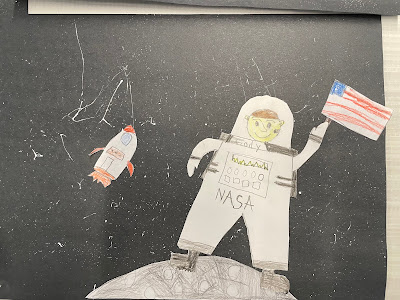
Here are some examples without using photos:


hi
ReplyDelete