Wednesday, August 1, 2012

How a New Design is Born...

I've been working on getting everything together to create a new bracelet for over a month now and today all the planning and acquiring materials finally paid off in some new designs I'm happy with.   As I was photographing the new jewelry I started thinking about everything that goes into creating something new - from idea to packaged product.  I wondered if the person who purchases the design has any idea how much goes into a handmade piece.  So here is a rundown:

I purchased a kit with instructions to learn how to make these "fringe" bracelets in December of 2011.

I finally sat down in July and created about 10 of them.  A couple were done twice to learn the technique : )  You have to sew each fringe into the bracelet - time consuming but nice when it's done.

Once I learned how to make these I immediately wanted to design my own and I LOVE FALL!  So I started thinking about golds and browns and acorns, squirrels, owls, leaves etc... So I had the inspiration - now to get all the materials....

There was a bead show in July so I searched for charms and clasps and beads there.  I found some of the beads - seed beads and leaves there, but no charms or clasps.

I went online and searched for nice charms for fall and found the squirrels and owls.

At the craft store I found a few more beads in the color scheme I had in mind.

I am still looking for a fallish clasp - but did find an antique brass one so decided to finally sit down and see what I could come up with.  I laid out all my materials, counted the number of beads for each component and went to work.

About 2 hours later, not including interruptions, the bracelet was finished.  Yippee!

While I was working on the bracelet I came up with some ideas for earrings too - so made those.

Now time to make earring and bracelet cards.

I went online and found a cute owl graphic, created a printable page of them and printed them onto kraft paper cardstock.

Now it's time to cut them with my printing press and metal dies into shapes.  Place a backing on them, put one of my logo stickers on, find some complimentary string to attach the tag and FINALLY - it's done.

Oh - forgot - photograph the jewelry in my little light box and edit the photos.

You have to really enjoy the process or you would go crazy thinking about how much time goes into each item you create - in this case at least 32 hours - Yikes!  Oh well - now I have everything and the next one will only take me a couple of hours - I think : )


Wednesday, July 18, 2012

Dollar Store Beach Treasure Box

I found these wooden boxes at the Dollar Tree in March or April and bought 10 of them thinking I'd figure out something to do with them for one of my art classes.

They are small, about 3 X 3", and have brass hinges on the back.  This week I was inspired to go with an Ocean theme.  I went to www.graphicsfairy.blogspot.com and did a search in their The Sea section.  I found several images and printed up a page with several then I chose the little beach girl for my example.

First I painted the box with Acrylic paint and let it dry.

Then I trimmed the image to size and used Beacon Fast Finish Decoupage to bond the image to the painted box.  I brushed one coat on the box, placed the image in the center and then put a quick coat over both the box and the image.  I painted the first coat of fast finish quickly so the printer ink wouldn't smear.  After that was completely dry I added another coat of Fast Finish over the entire top of the box.

The next step was to hot glue a couple of shells to the box.

Then I used Mod Podge and painted a thin layer around the edge of the image and to the edge of the lid of the box.  I also painted the sea shells.

Then I used Extra Fine Glitter in "Glitz" and quickly covered all the areas I had coated with Mod Podge, and then tapped the box onto a paper plate to collect the extra glitter.  The extra glitter can be re-used.

After that was dry I put a few stick on rhinestones on for one last bit of sparkle.

The bottom half of the box can also be decorated, but I felt that was enough steps for my class at the retirement center.

Now you have a special place for all those beach combing treasures.

Give it a try!  Fun for a birthday party activity - print out any theme images and use paint colors to match.

Wednesday, July 4, 2012

New Designs for July


I had some time to sit down and try some things I had been wanting to try - like the double strand necklace and the bronze disk styles.  
The pearls are so pretty I keep wanting to keep them for myself.  
They have a magnetic clasp so they're super easy to take on and off.  
Happy 4th of July!


Lavender freshwater pearl and crystal Necklace $22.

Pink and natural freshwater pearl with crystals necklace $22.


Freshwater pearl and swarovski crystal leverbacks $16.

Freshwater pearl and swarovski crystal leverbacks $16.


Bronze disk and crystals leverbacks $14.


Bronze disk double strand necklace $22.


Bronze disk and crystal leverbacks  $18.

Tuesday, June 19, 2012

June Creations

I don't know about you, but I often have ideas in my head for weeks before I finally get a chance to sit down and experiment with them.  I have found that when I already have the idea in my head the designing goes very quickly.  Sometimes I like it and it is just what I wanted to make, and other times it isn't what I had in mind at all and it may be an idea that just isn't going to work.  But it's the process that I love most of all - from idea to completed design including packaging.  I love the organic process of creating and where it takes me.  Sometimes I had no idea I was going to end up where I did - one thing just leads to another.


Summer "It's A Wrap" Bracelet, Anklet or Necklace all in one!  $18.

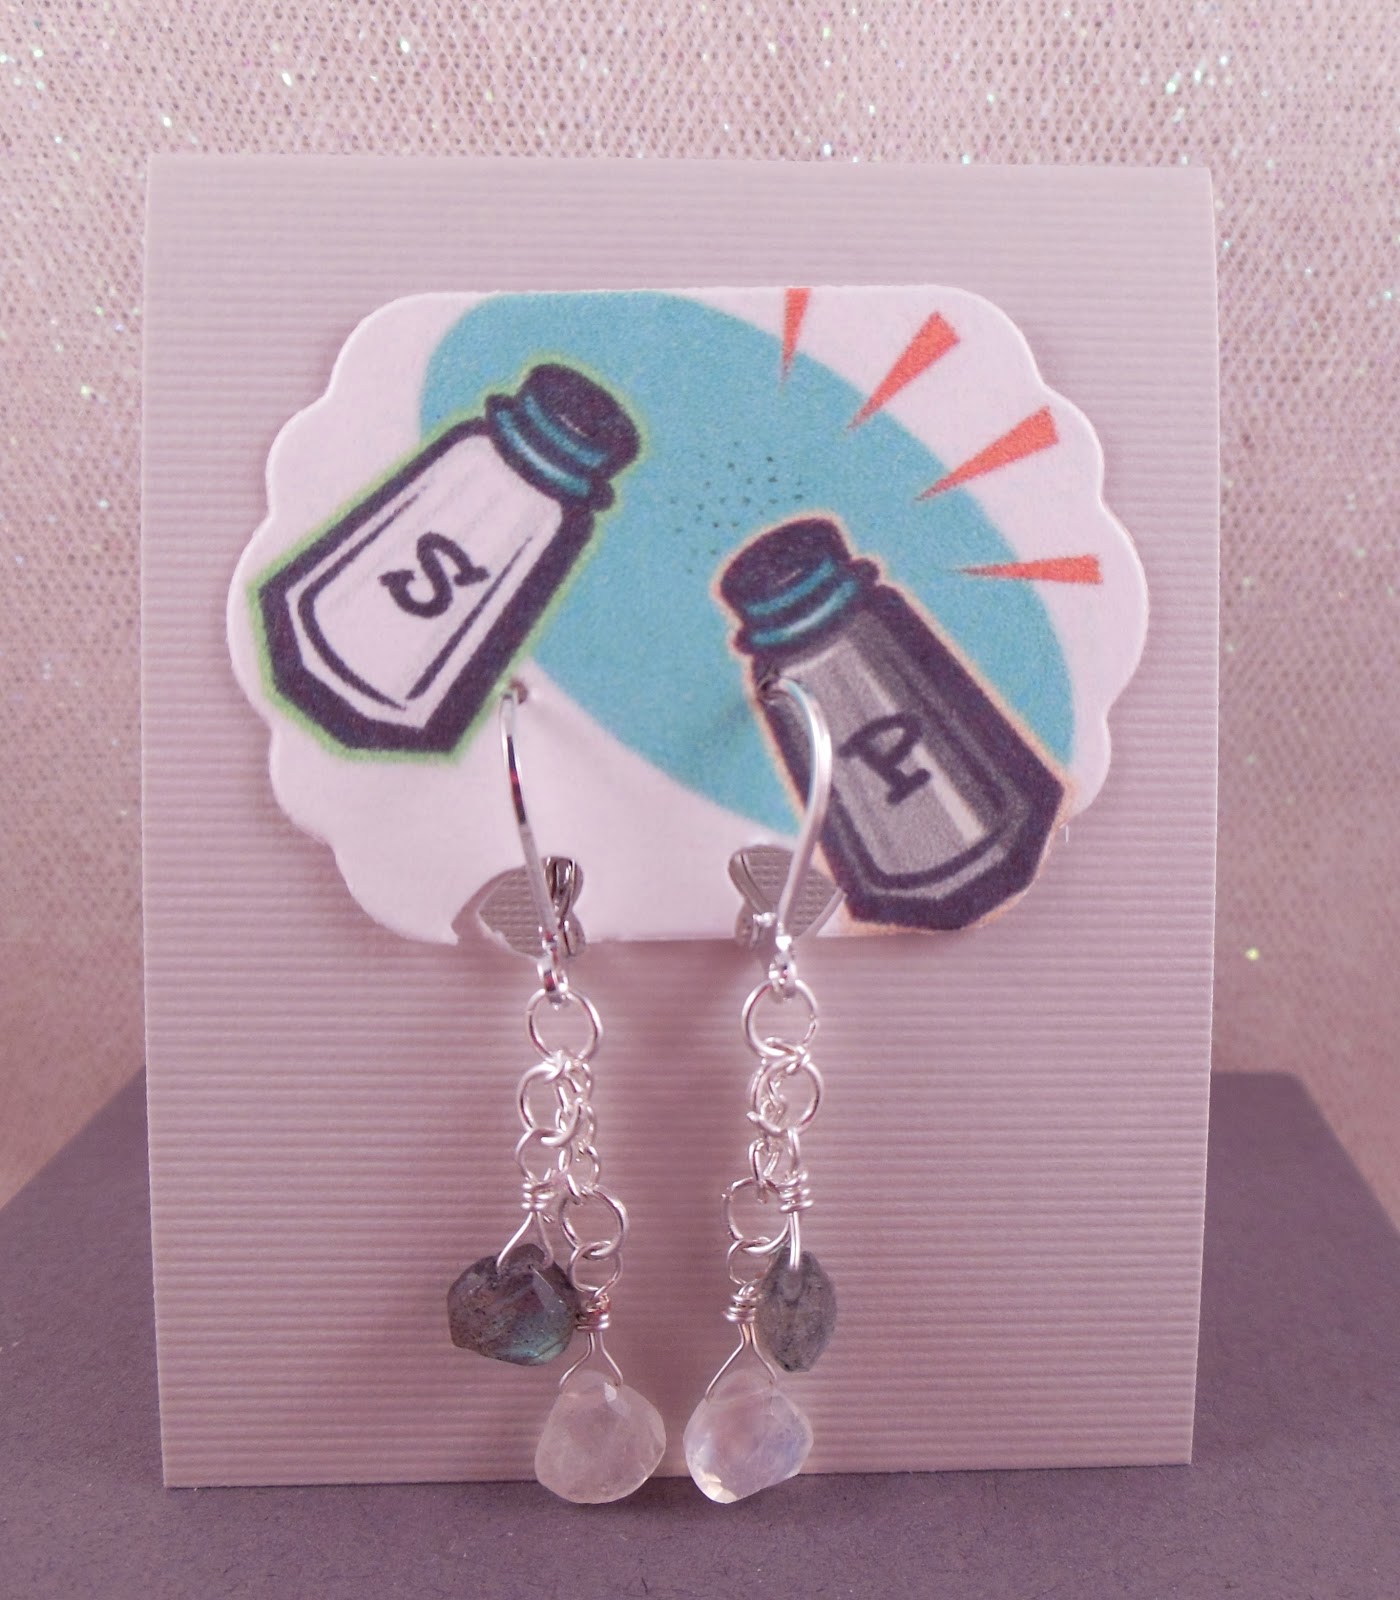
Moonstone and Labradorite Earrings with a fun retro graphic, $18.

Chalcedony Brass Keys earrings, 17.

Chalcedony with Swallows, 18.

Labradorite, 18.00

Tuesday, June 5, 2012

New Briolette Colors


I wear these Swarovski Briolettes constantly and I recently added a couple of new colors - A deep blue with a purple accent and a Pink/Gold Combo - the Olivine are also back in stock.  People comment on my earrings all the time - they really are stunning the way the colors sparkle and change in the light.  Happy Summer!

Tuesday, May 29, 2012

Ice Cream + The Circus Coming to Town + Flowers = Summer Fun

Bead Box Treasures:  ice cream, flowers, the circus coming to town and a simple casual style all inspired me to create some new summer style jewelry.  


Looking through my bead boxes I found I had been buying beads in the shape of ice cream cones, poodle doggies, giraffes and flowers, along with some copper Crosses and of course the key charms that I find pretty irresistible.  They have all been waiting a few weeks or months for me to finally sit down and work on some new designs.  This past weekend I got everything out and left it out for 4 days which led to quite a bit of new jewelry...  The giraffes and the dogs are handpainted ceramic beads - no two are alike.  Someone painted each bead by hand with a tiny brush - pretty cool!

When I was in about 1st grade one of my friends had a birthday party at Farrell's Ice Cream Parlor.  Each guest had a bowl of ice cream and there were ceramic animals in each serving.  Mine contained a little ceramic giraffe which survived and has always had a treasured spot on display - now joined by a few select giraffe friends.  I think they are such neat animals.  I couldn't resist picking up a string of giraffe beads when I found them.

Some of these designs are perfect for children - or the young at heart! 
All of these designs are available for purchase - just send me a message.

Saturday, May 19, 2012

Button Inspiration


I found some ideas using buttons as decorations on tea towels and framed embroidery and it gave me the inspiration to create some new cards.  They are fun and easy to make and I like the whimsy of the buttons in the design!  I love the Wizard of Oz so The Somewhere over the rainbow ones were so much fun to make! My son is graduating this year so I made 15 of these - I hope all the graduates Dare to Dream and their Dreams really do come True!

I traced a round glass that was the right size for the front of the card and used it as a guide to attaching the buttons.  I already had lots of buttons since they seemed like a good craft resource.

For the fruit cards you can make any kind of fruit - oranges, lemons, limes, apples, even a bunch of grapes!  A great thank you card for someone special.

Up Cycled Egg Carton Animal Portraits

  I have been seeing these on the internet and decided to try making them with my Summer Camp. They remind me of victorian style portraits w...