Friday, March 9, 2018

Recycle Printmaking Robot Art Lesson


I'm developing a lesson for my First Grade Artists that fits into their "Sharing the Planet" unit.
Using Items usually thrown out we'll create imaginary robots.  We'll discuss how these items should  be put in the recycling bin, but also that artists like to use discarded materials to create art.
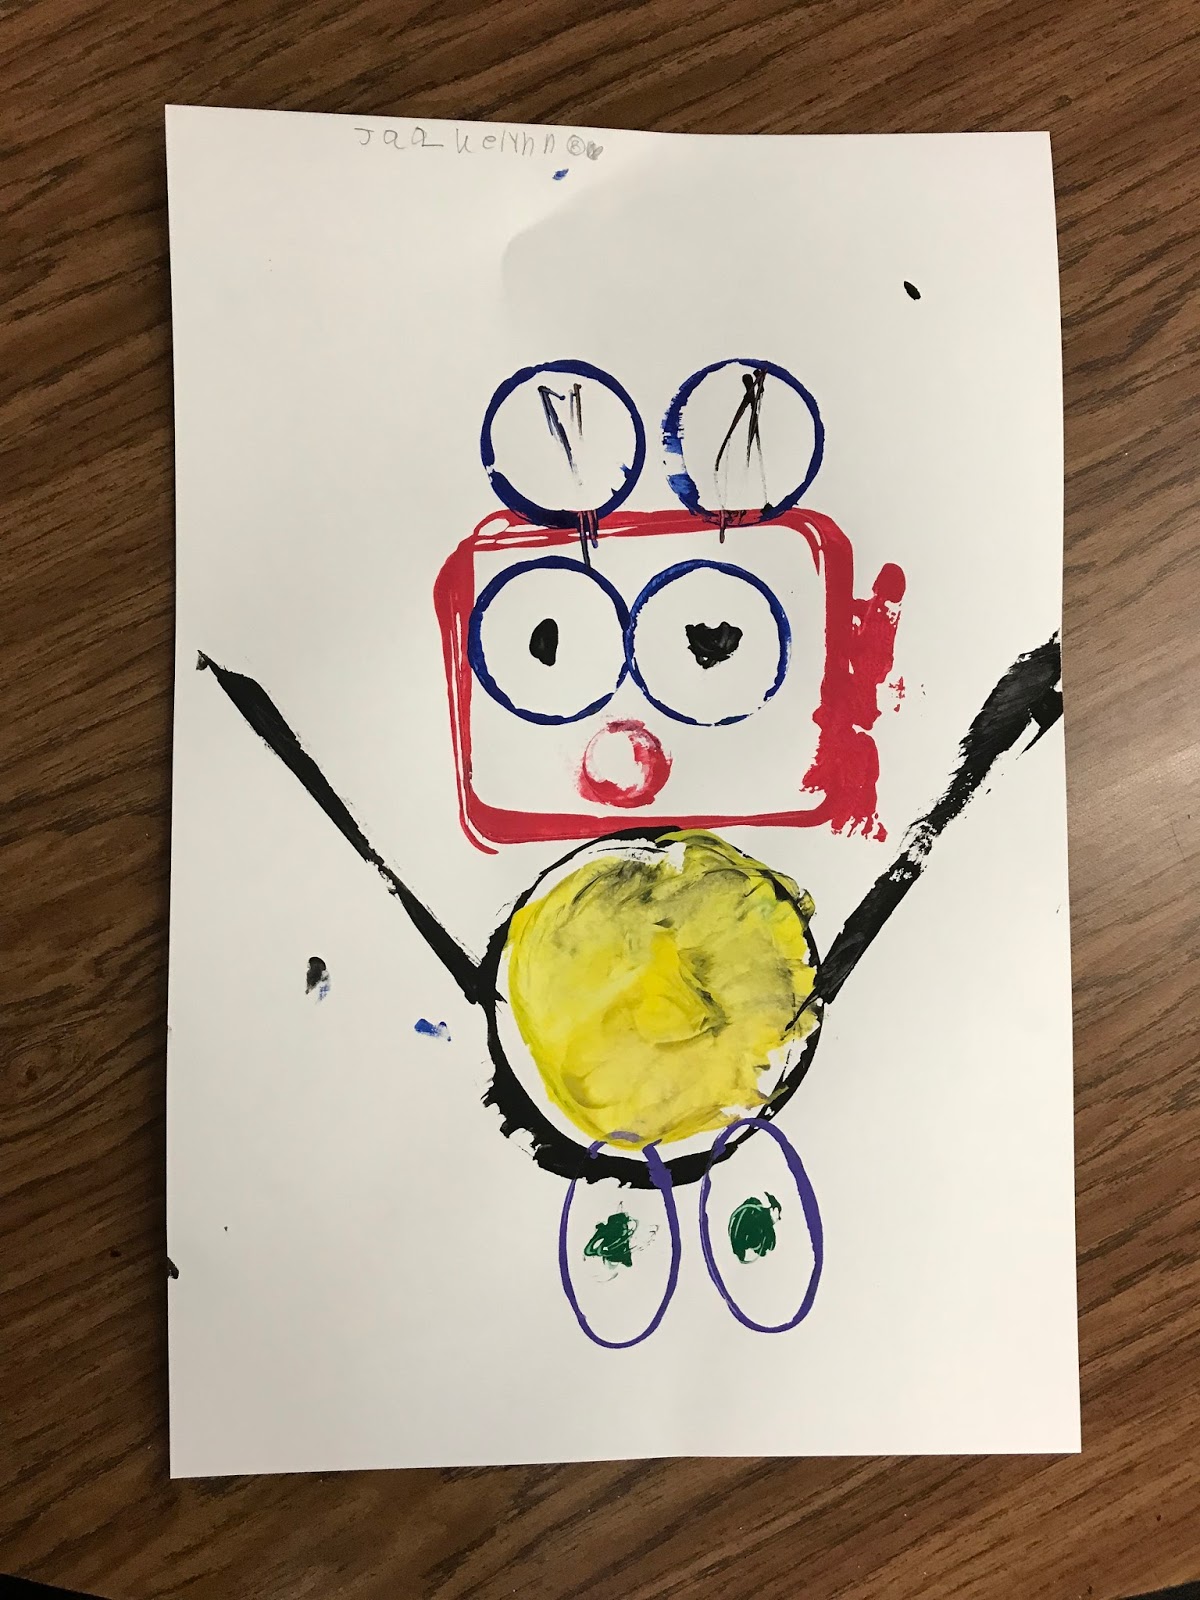
This Robot was printed with a Pringles container, prescription bottle, hairspray cap, dog treat lid, shampoo lid, popsicle sticks, lunch meat container and leftover mat board donated by a frame shop.

I'm going to have lots of available shapes for them to print with.

Here are a few examples of Artists who use Recyled materials:


We'll Discuss using discarded items to make art.

We'll also take a look at a few famous robots just to get their imaginations going : )


Students will use tempera paint on plates, dip their object into the paint and then print it onto the 
paper.


The orange Popsicle stick made the arms and the Pringles container is part of the control panel.
This cap makes the eyes for this robot.


I think they'll really have fun with this project.

Here are some examples of First Grade Artists:


Sunday, November 26, 2017

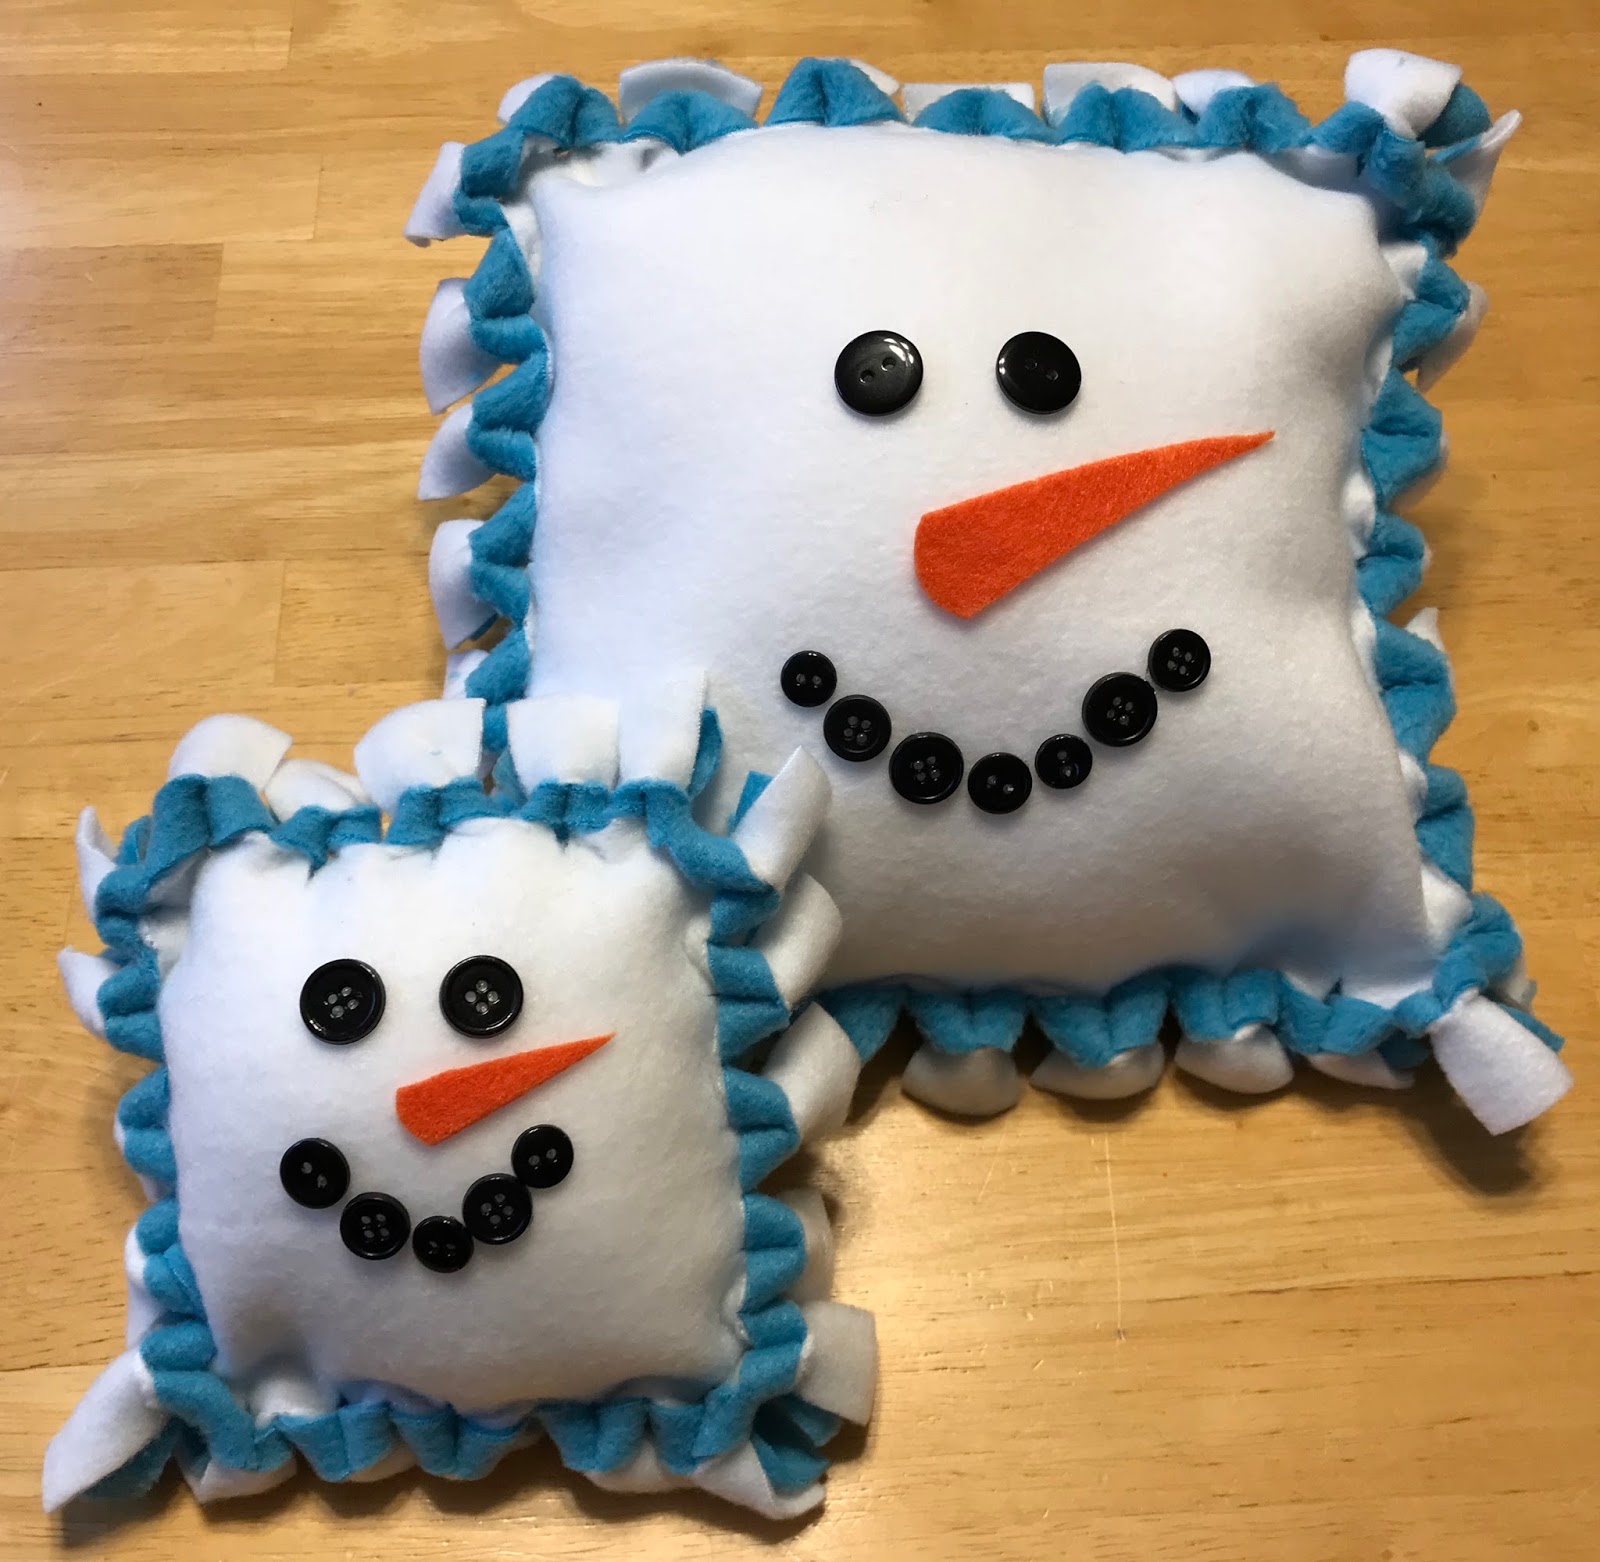
No Sew Snowman Pillow


The Large Pillow is a 12" Square and the Small Pillow is an 8" Square before tying the edges.
You will need:
Polarfleece
Orange Felt
Black Buttons
Fabric Glue
Hot Glue Gun
Polyfill Stuffing

This is an easy to make Winter or Holiday Pillow Project
Start by cutting your polar fleece into squares.
I made the smaller pillows out of the scrap polar fleece after cutting the larger ones.
I used a 12" Square as a pattern.
Once the Square is cut out in two pieces put another piece of paper that is 3" smaller as a pattern for the strips around the edges.  So this is a 9" square.
Cut approximately 1" strips around the square.  Cut the corners all the way out.
Now fold the strip of polar fleece over and snip about a half inch on the fold.
Push the two layers of polar fleece through the cut you made on the fold and pull snug.
Continue all around the pillow until you have 3 sides completed, then add the stuffing and finish tying the edge.
I like to use another color of fleece for the back so you get some contrast around the edge, like a frame.
Now Glue on the buttons for the eyes and mouth and cut a nose out of felt.  I used Fabric Glue to attach the nose.
Snow Much Fun!!

Thursday, October 12, 2017

Picasso Portrait Inspired Art Lesson Using Folded Paper and Watercolor


There are so many ways to teach Picasso portraits, 
I'm working with 3rd grade so I wanted to keep it simple.
I'll show them some of Picasso's Portraits and then go into the project - demonstrating each step.


I'm going to ask them to create diagonal folds, not even folds that create squares on their page, but more random folds.
They should make about 5 folds and then using a ruler go over the fold lines with a sharpie.
Looking at the lines on their page and turning it around from different sides they should see the suggestion of a face and they can begin sketching.
I'm going to show them how to use the lines to begin the eyes, eyebrows, nose, mouth, chin etc...


When they have a face they like they should go over it with sharpie.
Now they can use watercolor to finish the portrait.  
I am going to emphasize complementary colors which is another way to force them to be more abstract, but also something Picasso did in his paintings.


Student Work


I passed out a copy of this worksheet to help them think of different ways to make the features.

Up Cycled Egg Carton Animal Portraits

  I have been seeing these on the internet and decided to try making them with my Summer Camp. They remind me of victorian style portraits w...