Tuesday, February 26, 2013

Embossed Foil Bird Wind Spinner

A fun and easy Spring or Summer Art project using embossing techniques.  

Materials:
Foil catering container lids - I found mine at a party store
Brass snap swivels # 12
Coated brass wire - Wal Mart craft section
Wood and shell asst. beads - value pack at craft store
Soft surface such as a catalog, magazine or newspaper
Scissors, markers, ball point pens, hole punch, bells (optional).

Use these foil catering lids to make the birds:
Create a bird pattern and trace it onto the foil lids, then cut out the bird.


Place the bird onto a soft surface like newspaper or a magazine etc.. and use a ball point pen to emboss designs into the foil.  Discuss different ways to create pattern and also if they want to make a realistic looking bird or a more abstract bird.  Different patterns should be used in the design of the bird.

 Using a hole punch or sharp instrument punch a hole in the top and bottom of the bird shape and attach the swivels.  Attach a section of coated wire to the swivels and add the beads and shells.  Create a loop by wrapping the wire around itself a few times and trim.  The bottom is created by looping the wire over the bottom bead and then wrapping the wire around itself and trimming.

Ready for display indoors or outdoors!


Sunday, February 17, 2013

Spring Has Sprung

Getting ready for an Early Easter this year with my art lessons for March...

I ordered some black glue sticks from Amazon.com to try and create a really neat stained glass lesson.  I created a design and drew it onto watercolor paper in pencil, then I covered the pencil lines with the black glue.  It's a little tricky, but after some practice I was able to produce a pretty smooth line.  The nice thing about using hot glue, instead of regular glue colored black, there is no drying time - students can start painting right away.  I filled in the areas with liquid watercolors which are very intense.  The black hot glue seals the colors into each outlined area so they don't bleed together.

I also looked at several sock bunny designs - a classic Easter or Spring activity.  Somehow I have never made these myself.

I purchased large toddler socks in multi-packs to give the project a try.  I also purchased heavy thread for whiskers, tiny pom poms for the nose, googly eyes, small clear rubber bands, ribbon, dried pinto beans , fiberfill and a larger pom pom for the tail.   

I cut a 1 1/2 in. slit down the middle of the top of the sock for the ears, then I trimmed the ears to a more rounded V shape.

I filled the bottom of the sock with a few handfuls of beans and then added stuffing.

When I felt it was plump enough I gathered the ears and wound a tiny clear rubber band around the base of the ears.

Then I cut a piece of ribbon and decided where to tie the ribbon beneath the chin of the bunny.  I tied the ribbon in a knot before tying it into a bow.

Next I cut a length of thread and folded it a couple of times to make 4 threads, I tied a knot in the middle and glued the whiskers onto the bunny face with hot glue right behind the knot. Trim.

I glued the pink nose over the knot and added the eyes above the nose.

I glued the ears inside in a couple of places so they stayed folded.

You can add a little blush with a small brush to pink up the ears inside.

Last but not least is the larger pom pom for the bunny tail.

Here are the bunnies I came up with - I can't wait to make these with my students!


Saturday, November 24, 2012

Button Angels

To go with the Baby Jesus ornament I came up with these Button Angels for my students to make this year...
They are really very simple: 

Use fine gauge brass wire - found in the jewelry making section of the craft store.

White buttons and a gold or silver button.

A pearl bead

Glitter bows or white feathers or whatever you want for the wings.

Bend the wire in half and thread each end through two holes in each button, starting with the largest and going to the smallest. 

Next join the two wires together and thread them both through the pearl.

Separate them again and thread the wires through the gold or silver button.  Tie a knot with the wire at the top of the gold or silver button.  Then tie another knot at the top of the loop to make a hanger for the angel.

Tiny glitter bows make great angel wings and the little twist tie attached can be used for arms.  I twisted the twist tie to the angel body right below the head.  Then I shaped the arms.

You can draw a face on with a sharpie or leave it to the imagination.

Have fun!


Friday, November 9, 2012

Baby Jesus in a Manger Ornament

This Baby Jesus ornament is very easy to make!  

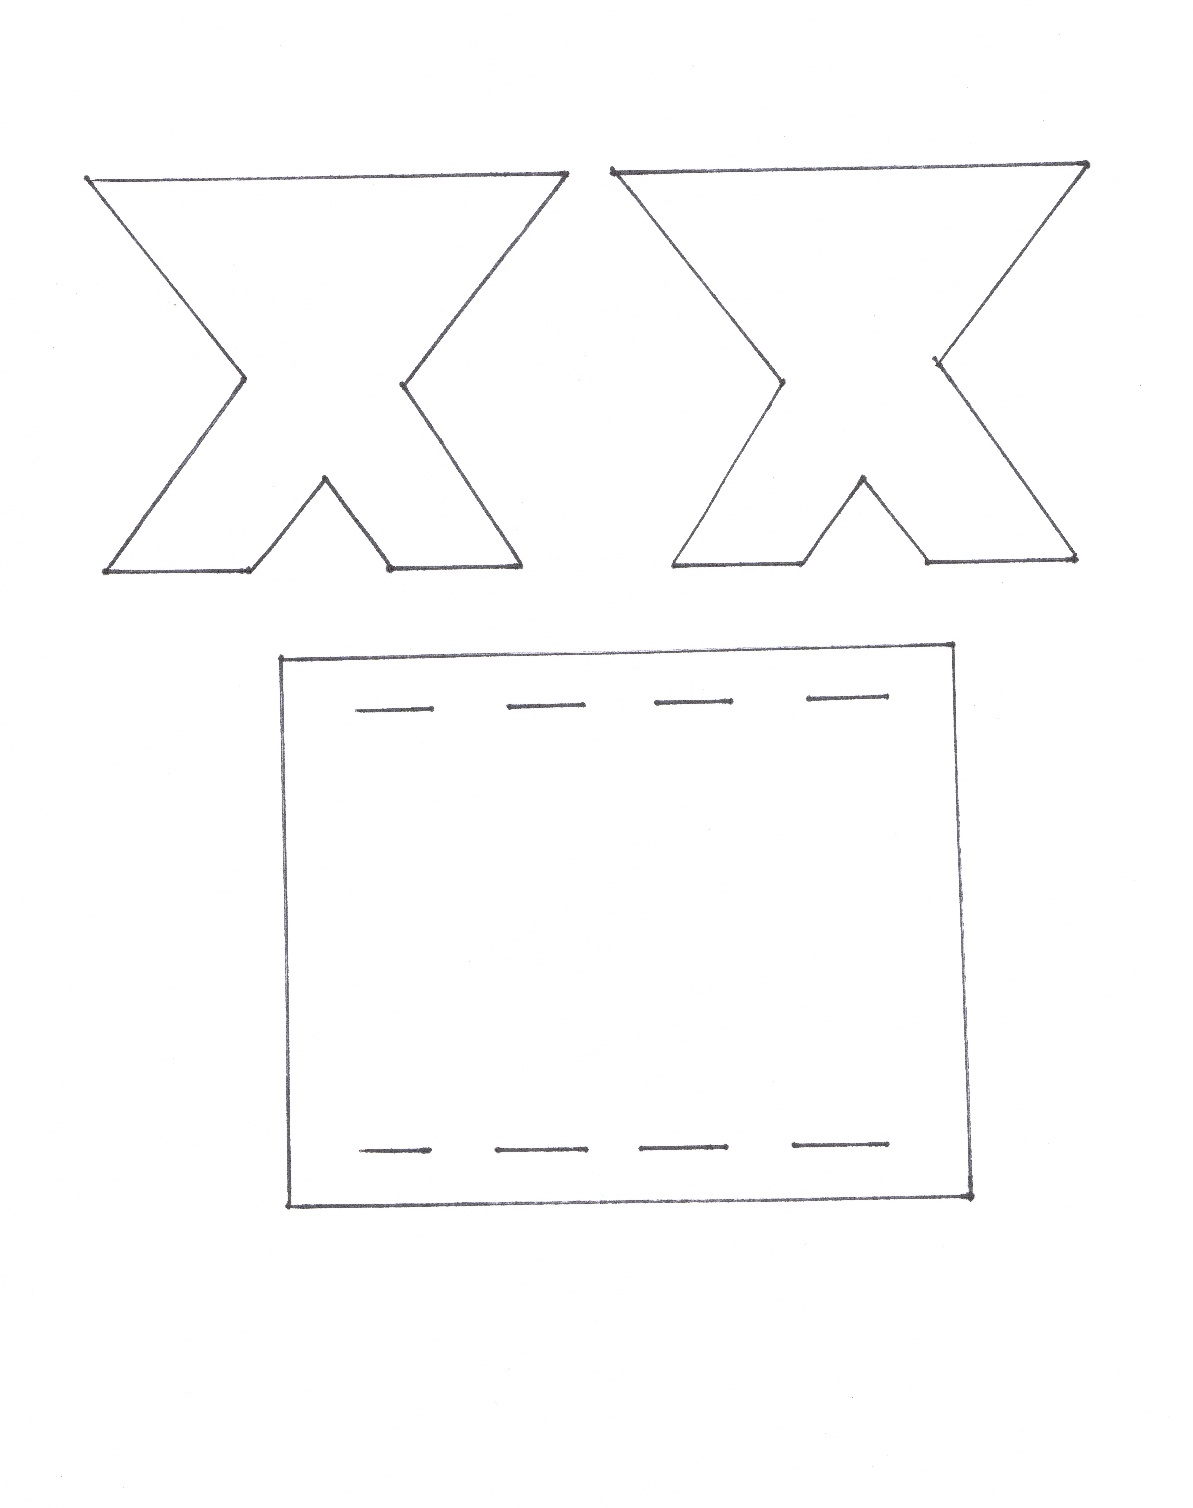
I borrowed the manger idea from another post on Pinterest, drew up a template and printed it onto kraft paper cardstock.  There is no glueing involved - I pre-cut the slits in the paper with an X-Acto knife before the kids cut out the manger pieces.


To make the manger just cut out the three pieces and insert the manger ends into the slits in the manger - which is folded in half.  See photo.

The Baby is made out of a 3/4 wooden ball for the head.  I used a gold Sharpie Paint pen.  A regular Sharpie didn't make a sharp line - it was fuzzy.  I used a little pink blush on a Q-Tip for the cheeks.

Cut a square of sparkly felt about the same size as the manger - 4X4. Fold it like you wrap a baby and glue it with the hot glue gun.  Put a little bit of tissue into the felt to make it look full.

I put a drop of hot glue behind the head and attached the halo - (Gold rings can usually be found in the wedding supplies aisle of the craft store).

Next glue the head into the felt, make sure it is tucked in nice and cozy up to the chin.

If you want to, glue a button onto the baby blanket.

Using raffia or packing straw place a little bit of straw into the manger.

You can glue the straw and the baby in - or just leave it loose.

If you want to hang it up punch a hole in opposite corners and thread some string under the manger.  Tie a knot in the top with a star in the middle.


With the addition of each child's personality and creativity these ornaments will become treasures for years to come!

Christmas Countdown

I came up with this countdown calendar for my students to make during Art After School...
It's really very simple:

Supplies:

Large white plastic or heavy paper plates
Starlight mint candies
Orange, Green and Black cardstock
Black buttons
An orange or gold brad
Hot glue gun
Sharpie permanent markers

Begin by cutting out a carrot shaped nose (kids can use templates or draw their own) that fits inside the paper plate so that it can be turned to each number until Christmas.

Punch a hole in the plate right in the center - I just use a small nail to do this.  Punch a hole in the carrot nose.  Fasten a brad through the nose and the plate.

Now put your buttons on for the eyes and the mouth, play around if you want to get the expression you like.

Glue the mouth and eyes.

Cut out the holly leaves out of green cardstock and the hat out of black - again using patterns or letting them do it themselves.  These will be hot glued onto the plate - it needs to be strong to hang it up later.

Give each student 26 mints and a marker.  Have them write the numbers 1 through 25 on each mint.

Older students can glue their own mints on with the glue gun - being careful to begin below the eyes and finish below the eyes.  Younger students can bring them to you to be glued.

The last step is to punch holes in the hat for a string hanger.

They can eat a mint each day until Christmas - or leave them on for decoration and just move the nose.  Either way it's a fun way to see how many days until the big day!

Monday, October 8, 2012

Fall Gourd Project

I think gourds are so neat!  They start out as a squash and end up being like a wooden vessel that can be painted, woodburned, incised, beaded, etc...  I decided to try doing a Thanksgiving Centerpiece gourd project this year with my elementary school students.  I had taken a gourd making workshop about 18 years ago so I had a little bit of background knowledge.

I started by finding a local gourd farm - www.gourdfarmer.com - which is in Knights Landing - not too far to drive.  We drove out on a weekend in August to get some gourds.  They had so many gourds in all shapes and sizes - from huge to tiny - round to long and skinny.  I purchased a shape called cannonball gourds.  When you purchase them they are coated with mold - which is what makes the colors and patterns on the shell of the gourd.  You soak them in oxyclean and water to make it easier to scrub them clean.  The longer they soak the better!
This gourd is partially scrubbed with a stainless steel scrub pad.  You can see the caramel color of the gourd appearing through the coating.  It definitely is a job getting them clean.
Here is the cleaned gourd still wet - you can see all the different variations of color on the shell of the gourd.  I love the natural colors that are under all that mess.

Since I want to embellish the gourds with some twine, string, raffia or beads I need to figure out a way to open the gourd with a saw.  Many websites recommend a jigsaw or x acto knife, but I tried the jigsaw and it was difficult to get a nice round opening.  So I thought maybe a hole saw that goes on a drill might work.  It worked very nicely and I zipped through making the openings in the top.
Wearing a dust mask to keep from breathing in the gourd dust I drilled the openings in the top of the gourds.  Then I drilled holes around the top to use for threading the twine etc...


As you can see the hole saw makes a nice uniform and smooth hole in the top.  I pulled the dried insides of the gourd out of mine, but left it inside the ones I'm using to teach the project.  The students can remove it if they want to - but they might want to take the seeds out and plant some gourds of their own!

OK - so the next step is to decorate the gourd.  I really like wood burning personally, however I don't feel like that's the best option for young students.  I went to the craft store and purchased some leaf stencils and metallic acrylic paint.  Using a "dauber" which is a little sponge on a handle I stenciled leaves around the gourd.

The final touch is to thread some twine through the drilled holes and add some fabric leaves and wooden beads.
I think these will be a wonderful addition to any family's art collection - and they'll look fantastic on the Thanksgiving table for years to come!  Family members could even put a little slip of paper in the gourd saying what they are thankful for...

Up Cycled Egg Carton Animal Portraits

  I have been seeing these on the internet and decided to try making them with my Summer Camp. They remind me of victorian style portraits w...