Wednesday, August 27, 2014

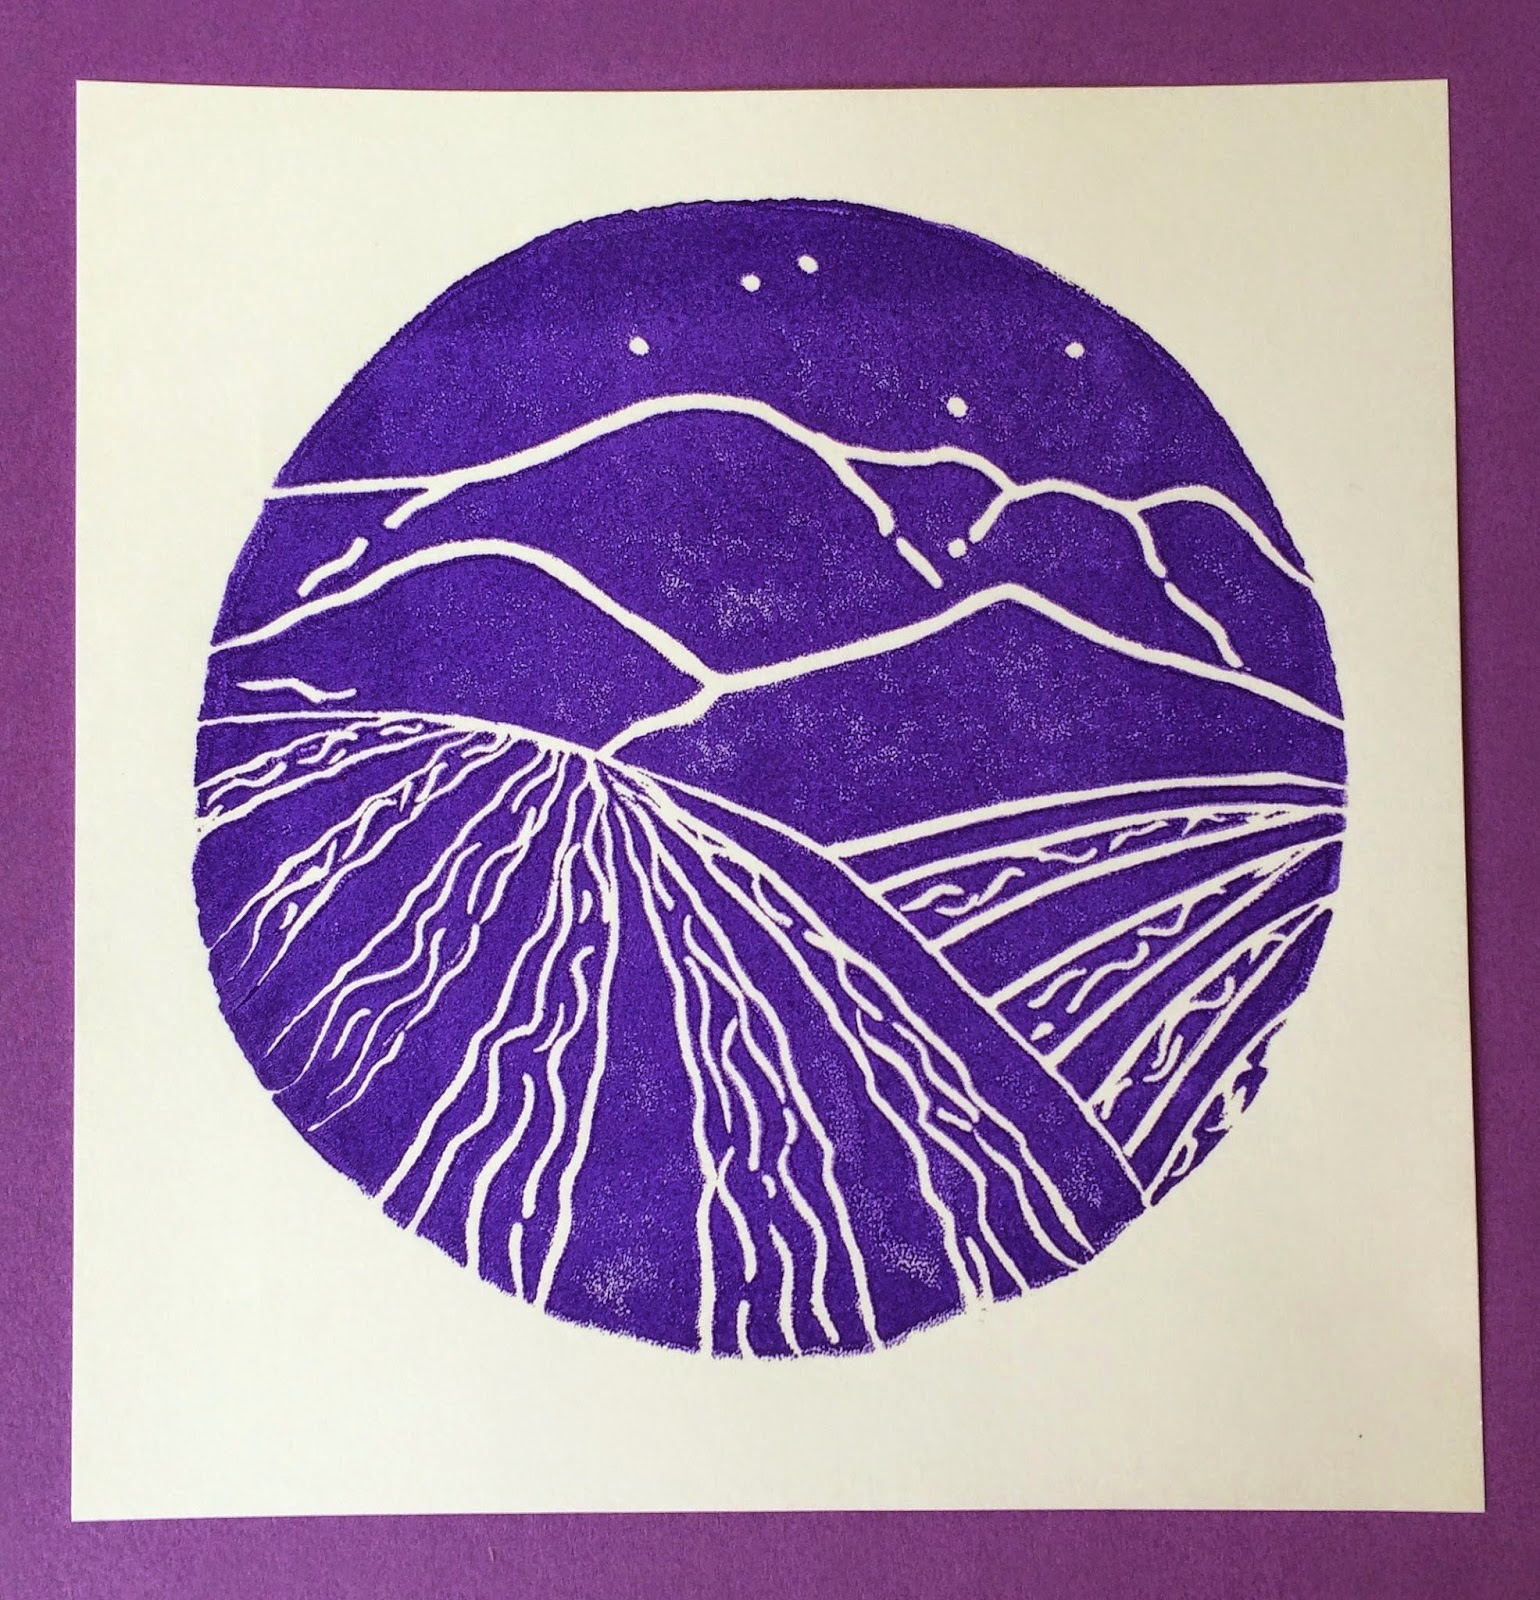
Napa Vines At Night Printmaking Lesson

I came up with this lesson as a fun way to start out the school year here in Napa.  I wanted to teach the students about perspective and do a lesson relevant to our area.  We are in the middle of "Crush" here which is Harvest Time for the grapes.  This could be done as a drawing or even painting project, but I chose printmaking.

Using a foam plate I cut the curved part of the plate off, leaving a nice flat circle for the students to draw on.  We'll do some sketches on paper first and then draw on the foam.  I'll ask the students how does an artist make things look closer or farther away and we'll work on one point perspective.

Start with the mountains, then the foothills, and finally the hills with the vines.  Practice starting the vines and finishing them so they look closer and farther away.  I added a few stars to the night sky.

Here is what the foam plate looks like, wherever the student draws into the foam will print as a white line.  Note - the image prints backwards.

Using water based ink, a breyer and a plexiglass square for the ink each student can ink their plate and press the plate on paper to create their print(s).  I put newspaper under everything to limit the mess.  I have them use a soft cloth to rub the back of the foam firmly to get a crisp print.  
Now they can number and sign their artwork!
Happy Harvest or as we say here in Napa - "Crush"!
Wednesday, August 20, 2014

2"X4" Block Pumpkin and Frankenstein


These are very easy to create, once you have all the materials: 

Wood blocks
Acrylic paint in orange, green, silver and black
Sharpie Pens
Bamboo pumpkin stems
Wood Thread spools
Raffia and Ribbon

I had Home Depot cut 2"X4"s into 6" lengths for me.
I used a plastic pipe cutting tool to cut approx. 1" lengths of a bamboo stake from the garden dept.

I'm going to have my students paint their block orange or green.
While that dries they can paint the thread spools or decorate the stem.

After practicing some faces they can lightly draw the face with a pencil.
Using a sharpie they can draw the faces, stitches etc...
I'm going to have them use paint for Frankie's hair.
I used this pin from Pinterest as my inspiration for Frankie:

Use hot glue for the stem and the bolts.

If they choose the pumpkin they can leave it out for Thanksgiving by turning it around to the plain side : )
This is a project that lasts forever and brings back memories of the young artist each year it gets put out on display.
Sometimes the simplest ideas are the best!


Monday, August 18, 2014

Halloween Chalkboard Countdown Calendar


I found these cute felt owls at Dollar Tree and figured they would make a fun fall project.  They also have pumpkin and leaf shapes.  They are pretty big - about 12" X 17".
I decided to do a chalkboard countdown for Halloween.
To create a chalkboard I found some Fall wood shapes at the craft store and black chalkboard paint.  
I'll have my students paint these first so they can dry while they create the owl.
The owl and cat designs are from Pinterest:

Here are the other printable signs I made:

Students can cut and mat these and glue them onto the owl where they like them.
I used hot glue for the wood and the ribbon hangar.
Add glitter highlights by painting mod podge or glue on the felt.
Tie a piece of twine to chalk and then attach it to the owl.
Finally add a ribbon for hanging.
Now Whoooo's Ready for Halloween?!

Friday, August 1, 2014

No Sew Black Cat - Almost

 I have made cute polar fleece pumpkins this way, but decided to try making a cat instead...
I  designed this project for elementary age students so instead of felt I used foam sheets.  
If you are doing it for yourself or a gift I would use felt.  

First buy some anti pill polar fleece, fiberfill stuffing, foam sheets in green, black, purple, orange etc..., upholstery thread, halloween ribbon, pom poms and sewing needles.

I start with a circle of polar fleece about the size of a large dinner plate.  Then I sew large stitches around the fleece using very heavy duty thread - upholstery thread.  The kids can do this simple stitching once I demonstrate.

Next I pull on the two ends of the thread and gather the fleece into a ball which I stuff with fiberfill.

When it is the desired shape I tie the two ends together as tightly as I can and make a knot so it is secure.
Now cut out the foam shapes for the hat, eyes, and ears.


I used a hot glue gun for the hat and the ears, but the eyes could be done with tacky glue.
I tied a knot in the center of some folded silver ribbon for the whiskers.
They are hot glued onto the face with a pom pom on top for the nose.  
Add some ribbon to the brim of the hat to dress it up a little and then glue it onto the top of your cat's head.  The ears are glued right on top of the hat.

Have a Purrrfect Halloween!!


Fall Aspen Tree Art Lesson for Children, Step by Step

 Impressionist Aspen Trees In The Fall Elementary Art Lesson I love how colorful these are - I took my inspiration from Artist Melissa McKin...