I teach Art with Tere Charney at Bel Aire Park International Baccalaureate World School Communications and Media Magnet Elementary School in Napa, CA. We share the Art curriculum and worked on this collaborative project together this year.
As we were planning this lesson we couldn't find any information about doing a project similar to this so decided to share our process with you in case you might want to try it.
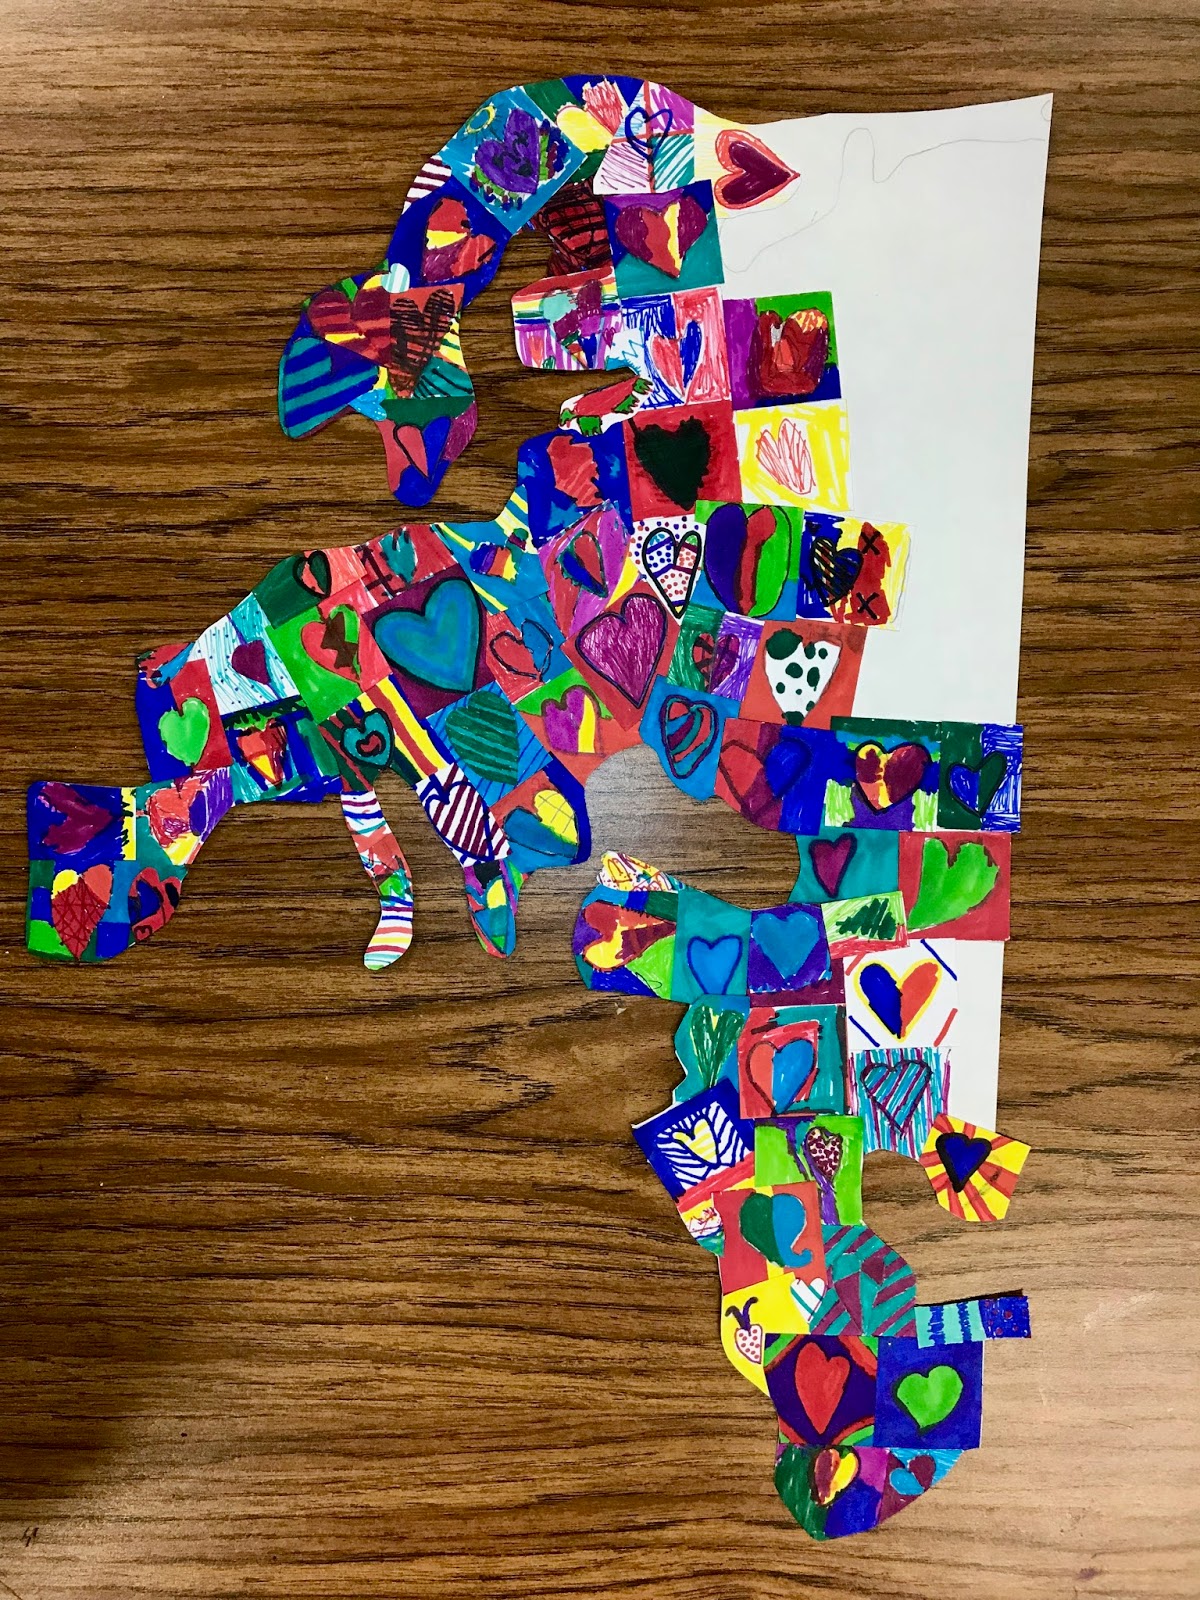
We teach at an International Baccalaureate World School so decided to create a project with a World theme. Our students are part of a global network of learners around the world who share common goals to become lifelong thinkers and inquirers. An essential element of our Learner Profile is to "Be Caring". That's how we chose the Hearts. We've Got The Whole World In Our Hearts! Mr. Van Housen, a parent at the school, created the beautiful wood panel - it's very large, 8 feet by 4 feet. He stained it for us and then we applied the continents.
Materials:
Sharpie Colored Markers
Vellum paper
Poster Board
Glue sticks
Mod Podge Matte
Weld Bond glue


We began by having each student create at least one heart on a 1 1/2 inch square using pencil. Then they colored in their hearts using the Sharpies.
We discussed using warm & cool colors, patterns, complimentary colors etc...

Using a photo of a very simple map of the world we projected the map onto the wood panel to get the scale correct. Then we traced the outlines onto poster board.

Using the hearts the students made we collaged them onto the continents. We used glue sticks to attach them and trimmed them as needed.


After we completed the continents we used WeldBond to glue them on the panel.

We brushed the WeldBond on the back of the continents sparingly then quickly put them where they belonged.

Next we added 2 layers of Mod Podge over the entire piece. We let the first coat dry overnight before applying the final coat.
We are going to seal it with Acrylic Sealer once this has cured.


We hadn't done something of this scale before using these materials and were very relieved to have them dry flat without buckling from the application of the glue and Mod Podge.
The glue stick adhesive was completely dry before we applied any other glue.
The stain on the wood was dry for at least a couple of weeks.
If you create a collage in this manner please send us a photo, we'd love to see it!