No Sew Emoji Face Pillow
(These also make fun Sun Pillows)
Supplies needed:
Polar fleece
Google Eyes - 1.57 in. or 40 mm
Black, red and pink felt
Poly fill stuffing
Glue gun
I used two different colors of polar fleece just to make it more fun, but you could do yellow on both sides.
Start by cutting the fleece in a 12.5 inch circle.
Put both the top and bottom together and cut the strips (about an inch wide) around the edge with an 8 inch circle in the middle. I'm going to do this ahead of time for my students.
Cut up to the circle and then fold the strip and cut a short opening in the two strips to pull the ends through for the ties. (see link below for tips on this step)
Face Patterns PDF:
Some of the shapes are backwards so when you cut them out the outline on the felt won't show - because you'll be turning them over.
These patterns and the googly eyes can make several different faces:
After you have the face you want, fabric glue or hot glue it on the center of the pillow.
(I used adhesive felt from Michaels- It's easier to trace and cut out on the paper backing.)
To tie the pillow take the tips of the strips and push them both through the opening you cut, pull them through evenly.
Stuff the pillow and finish the ties.
Back
Emojis are super popular right now and I'm sure my students will have fun making their own!
Student Work:
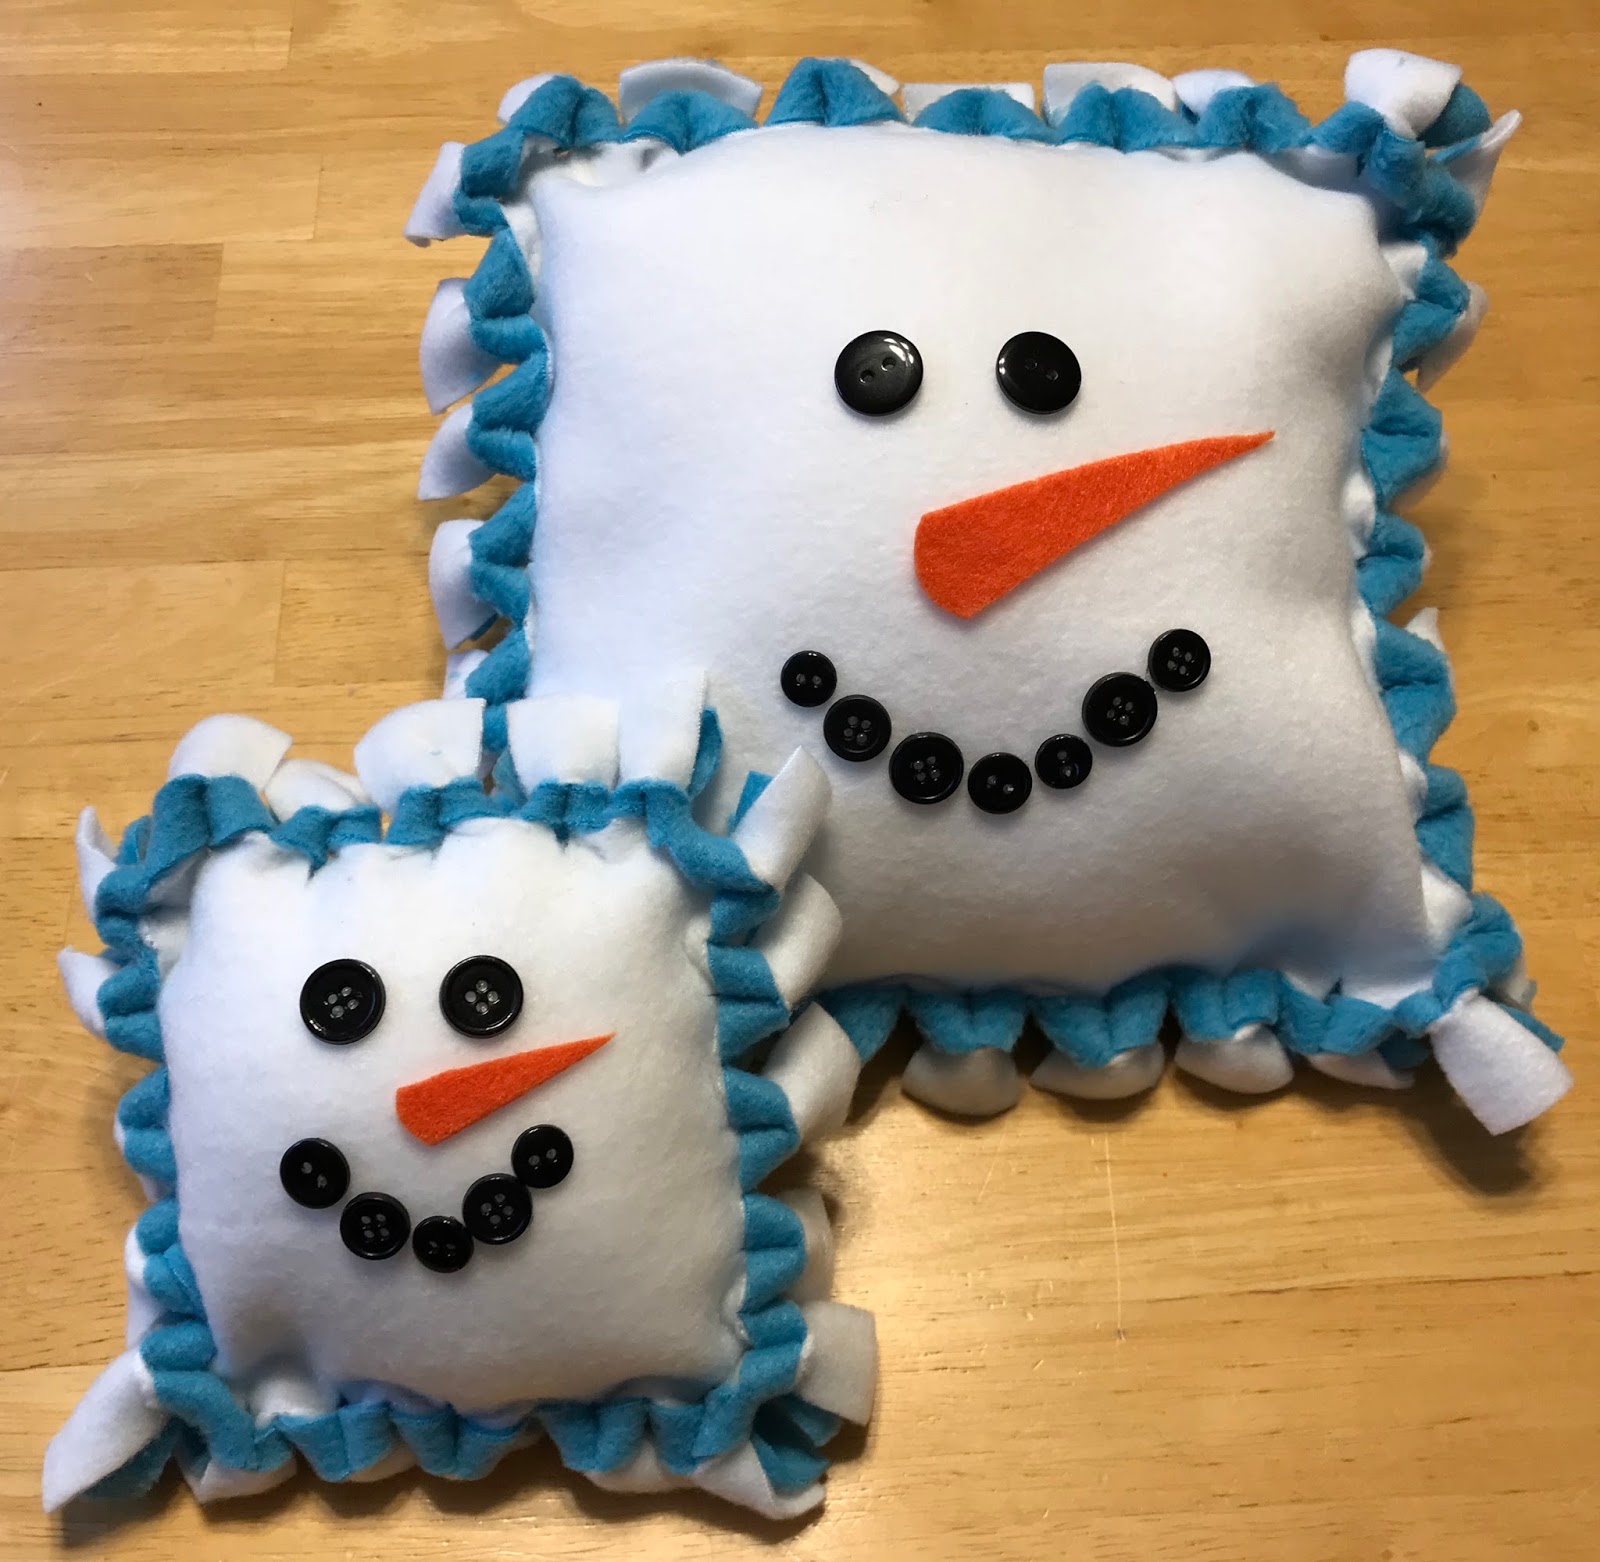
 Once the Square is cut out in two pieces put another piece of paper that is 3" smaller as a pattern for the strips around the edges. So this is a 9" square.
 Cut approximately 1" strips around the square. Cut the corners all the way out.
 Now fold the strip of polar fleece over and snip about a half inch on the fold.

 Push the two layers of polar fleece through the cut you made on the fold and pull snug.
Continue all around the pillow until you have 3 sides completed, then add the stuffing and finish tying the edge.
I like to use another color of fleece for the back so you get some contrast around the edge, like a frame.
Now Glue on the buttons for the eyes and mouth and cut a nose out of felt. I used Fabric Glue to attach the nose.
Push the two layers of polar fleece through the cut you made on the fold and pull snug.
Continue all around the pillow until you have 3 sides completed, then add the stuffing and finish tying the edge.
I like to use another color of fleece for the back so you get some contrast around the edge, like a frame.
Now Glue on the buttons for the eyes and mouth and cut a nose out of felt. I used Fabric Glue to attach the nose.
 Snow Much Fun!!


