Showing posts with label recyclebot. Show all posts

Friday, March 9, 2018

Recycle Printmaking Robot Art Lesson


I'm developing a lesson for my First Grade Artists that fits into their "Sharing the Planet" unit.
Using Items usually thrown out we'll create imaginary robots.  We'll discuss how these items should  be put in the recycling bin, but also that artists like to use discarded materials to create art.
This Robot was printed with a Pringles container, prescription bottle, hairspray cap, dog treat lid, shampoo lid, popsicle sticks, lunch meat container and leftover mat board donated by a frame shop.

I'm going to have lots of available shapes for them to print with.

Here are a few examples of Artists who use Recyled materials:


We'll Discuss using discarded items to make art.

We'll also take a look at a few famous robots just to get their imaginations going : )


Students will use tempera paint on plates, dip their object into the paint and then print it onto the 
paper.


The orange Popsicle stick made the arms and the Pringles container is part of the control panel.
This cap makes the eyes for this robot.


I think they'll really have fun with this project.

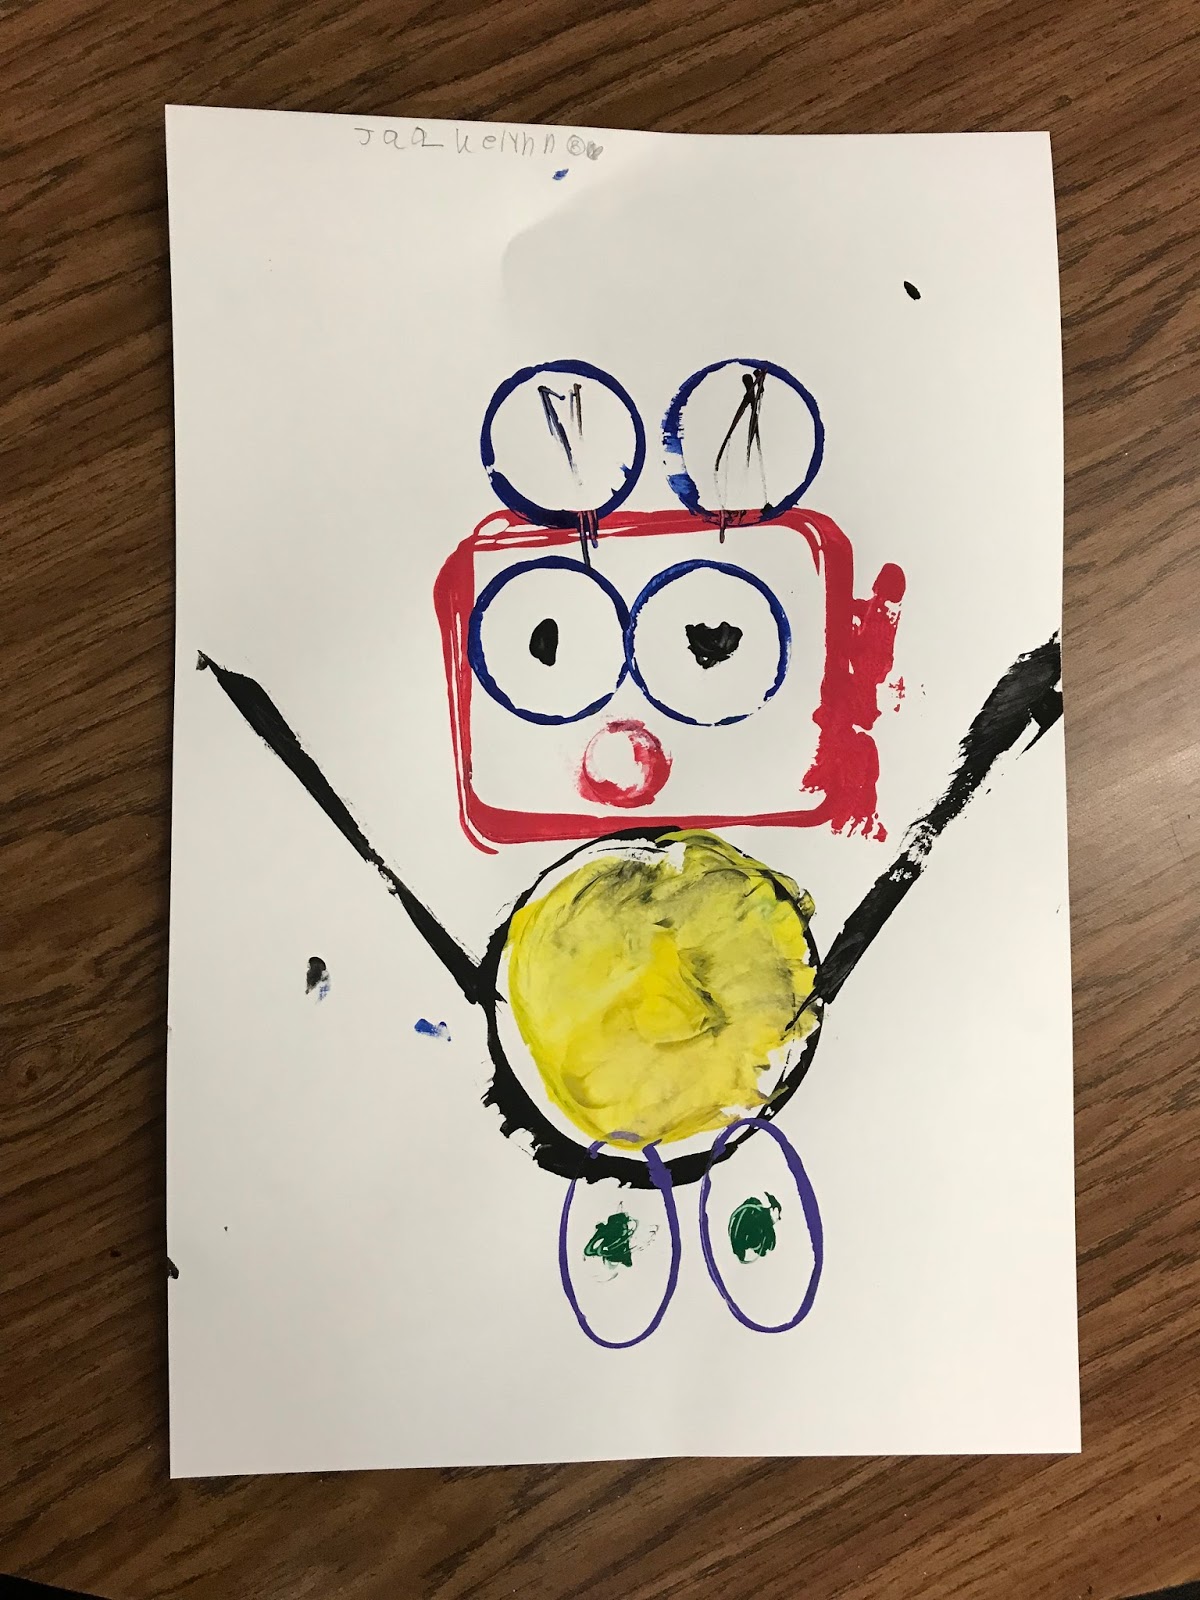
Here are some examples of First Grade Artists:


Sunday, April 12, 2015

Recyclebot - Tin Can Robot Tutorial

I wasn't going to do a tutorial for the tin can robot because there are several examples on Pinterest, but after 5 trips to the hardware store and much trial and error I thought maybe someone would like to see a simple way to create their own.  Here's my version:

 You'll need 5 cans - these are the sizes of the ones I used:
Head - 28 oz.
Body - 108 oz.
Arms and Legs - 15 oz. 
If you don't use these you'll have to change the length of the threaded rods.

The hardware I used was mostly 1/4 inch.  
You'll need 2 12 inch 1/4" threaded rods.  
One needs to be cut with a hacksaw to a 7" length for the legs and a 5" length to attach the head to the body.  
The second one is used uncut for the arms.
Wing nuts are attached to the ends to hold the robot together.
Start by punching holes in the cans with an awl, then drill them with a 1/4 drill bit.
Drill holes for the face and also in the top of the head.
The body has one hole in the top, one on each side at the top for the arms, one on each side for the legs and 3 in the center for buttons.
Each arm can has a hole on each side at the top.
Each leg can has a hole on each side at the top.
This photo shows the inside of the body before I attached the legs.  
The wing nut at the top is attached to the 5" rod going to the head.  
The rod across the top is going to each arm, and the 3 nuts and bolts are the buttons.
 Use whatever you want to make the face.
You can add a wire hangar if you want to hang him somewhere in your yard.
Just add a funnel and you have a Tin Man - when I find some red metal to recycle I'll add a heart!
Spray a clear acrylic finish to seal your robot so it won't rust.


Up Cycled Egg Carton Animal Portraits

  I have been seeing these on the internet and decided to try making them with my Summer Camp. They remind me of victorian style portraits w...