Monday, November 24, 2014

Candy Cane Elf Christmas Ornament Craft


With Elf On A Shelf so popular right now, I've seen several of these cute guys on Pinterest and wanted to try making my own.  When I found some plastic candy canes at Dollar Tree I decided to make my own version.  
These ones won't get taken apart to eat the candy canes after all that hard work!
Here is a link to the one I saw on Pinterest - she uses die cuts I think, which I didn't have.

So my version:
You'll need:
Candy Canes
Cardstock
Google Eyes
Pom Poms
Jingle Bells
String/yarn/or ribbon
Colored Pencils
Hats - Or make your own


I found the Candy Canes at Dollar Tree and the Hats at Hobby Lobby

Begin by hot glueing the candy canes together at the top, I'm going to have mine pre-glued before I try and teach this to my students.
Add the string by looping it between the candy canes.

Next cut out the mittens, shoes, clothing, collar and head - all on a fold out of card stock- pattern below.


The string is threaded through the top of the elf clothes and collar and then they are glued on the candy canes.  Tacky Glue works well.
Put some glue inside of the shoes and mittens and glue them over the ends of the candy canes.

Punch a hole in the back of the head, draw the hair and other facial details, glue on the eyes and the hat.
Thread the string through the hole in the back of the head and then glue the bottom of the face over the top of the body.  See below:

Add any embellishments you desire - pom poms, bells, glitter, gems etc...

Now they have their own elf to decorate the tree year after year, or to play with.

Student Elf

I was featured on Fun Family Crafts


Tuesday, November 18, 2014

Let Heaven And Nature Sing Nativity Art Project


Every Christmas I can't resist doing at least one Baby Jesus Art Project.

Supplies needed:

Colored paper - I used cardstock - blue, brown, black, white, pink, lt. and dk. grey, yellow.
glue
silver glitter
gold doily or gold glitter
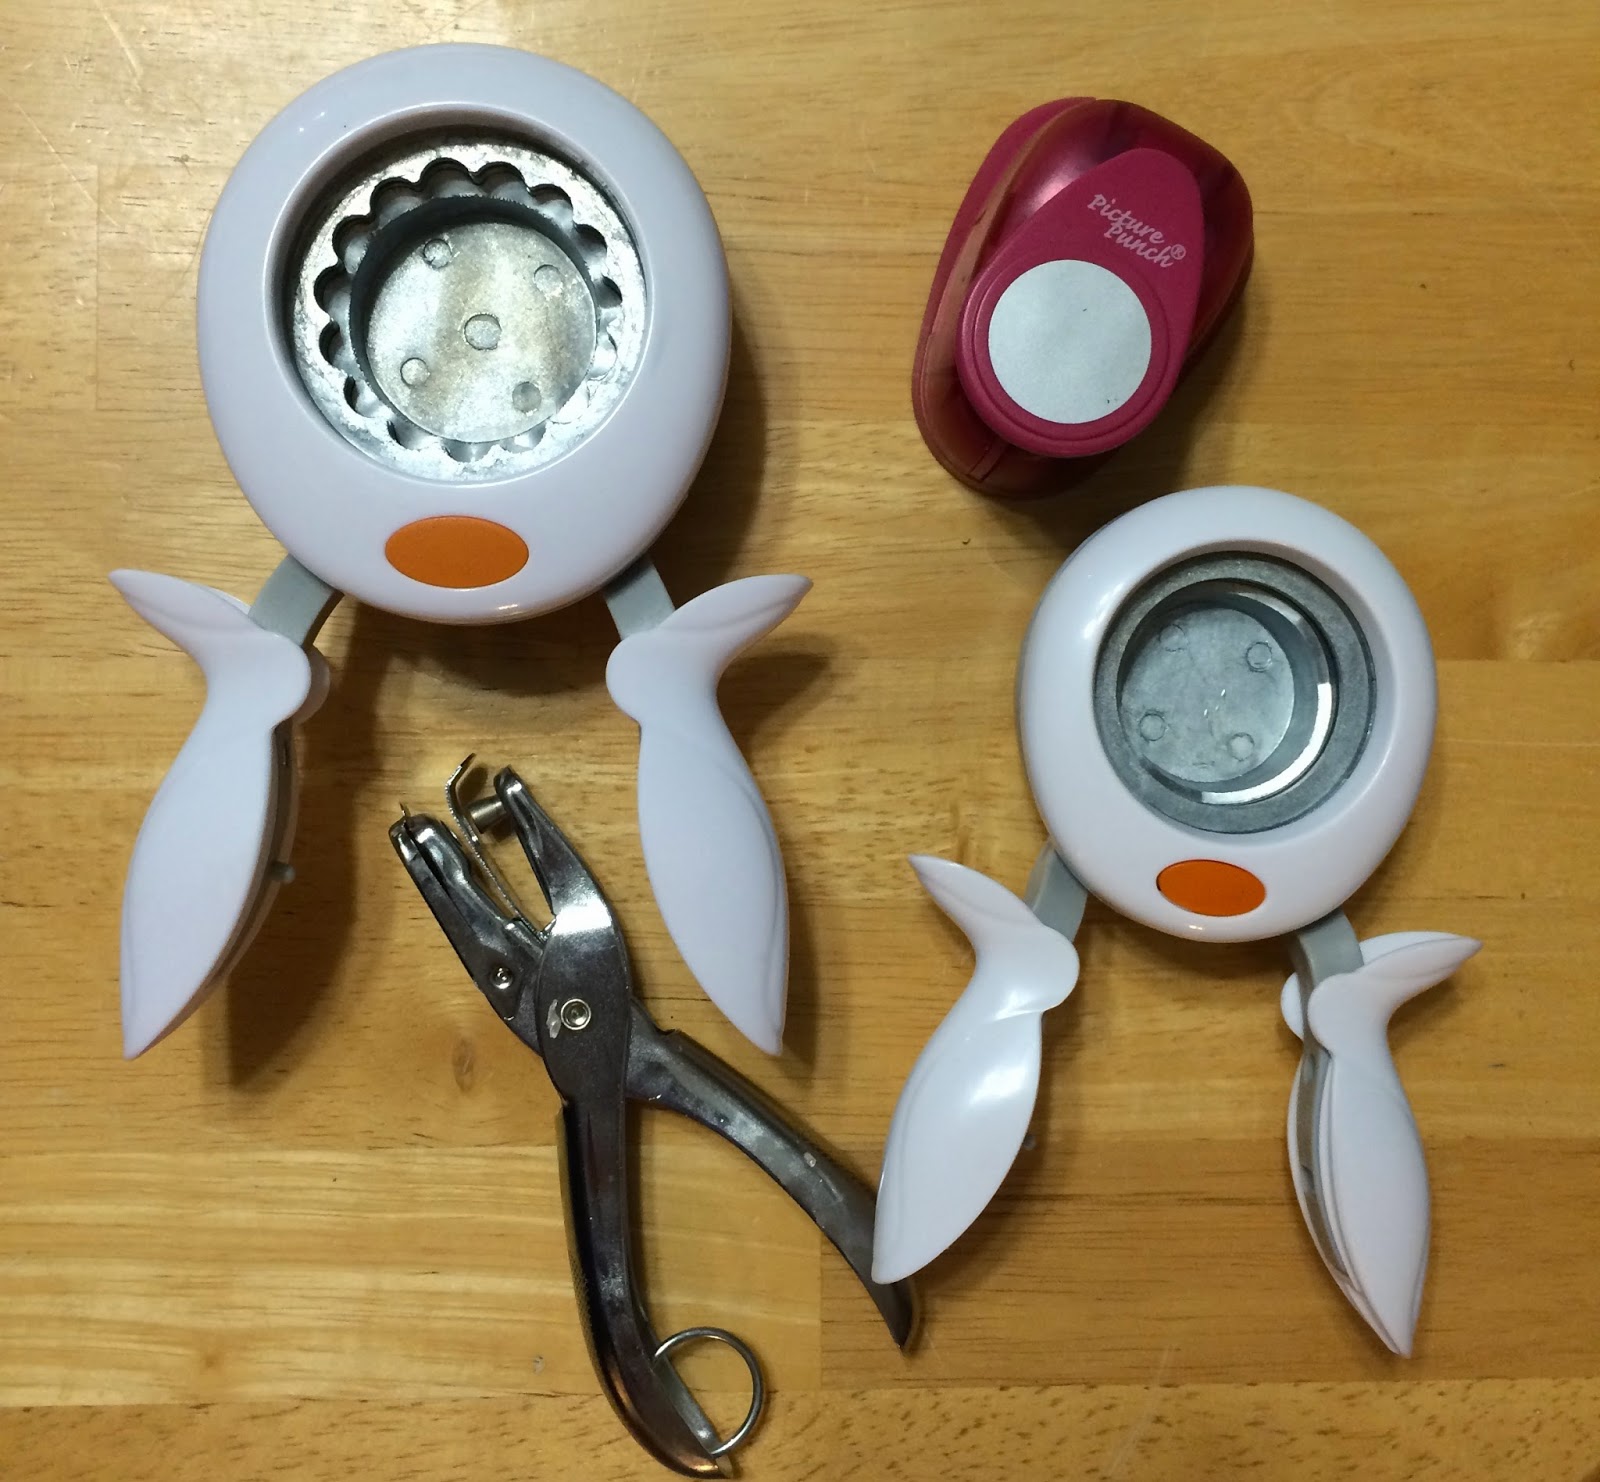
Paper Punches
Fine tip black marker
pencils
Pink colored pencil
Star shaped paper plates

You can pre-punch the shapes out of paper, or give them the paper and the punches.  They like using the punches and there are enough different shapes they would be able to trade back and forth.  You could also have them trace different sizes of circles and cut them out.

I was thinking this would be an easy project for young students to feel very successful.  It also shows them how easy it is to use simple shapes to represent animals etc...


The smaller circles are 1" and the larger are 1 1/2", the noses are made with notebook paper punch, and the sheep are a 2" scalloped circle punch.

Below is a pdf pattern for the manger, blanket and cow and donkey ears and horns.

I'm going to cut a few of the manger and blanket out of card stock for them to trace - I think they can do the ears and horns freehand.

Demonstrate assembling the animals and Baby Jesus including adding the faces and rosy cheeks. 

Baby Jesus has a halo made by cutting a gold doily apart in a circle and putting it behind his head.  You could also use gold glitter. 

Once they have all the animals assembled and Baby Jesus they can arrange them on the blue background before gluing.

They can add some silver stars with a few drops of glue in the sky covered with the glitter.

I found some metallic gold star paper plates at the Dollar Tree and used those for the background, but you could also cut out star shapes.

Print out some banners that say "Let Heaven and Nature Sing", "All Hearts Prepare Him Room", or "O Come Let Us Adore Him" to glue at the top.

Create a hangar and glue it to the back - I used some tinsel stars on gold wire that I had - and hot glued it to the back. Yarn, ribbon or string would work too.

Merry Christmas!


Fall Aspen Tree Art Lesson for Children, Step by Step

 Impressionist Aspen Trees In The Fall Elementary Art Lesson I love how colorful these are - I took my inspiration from Artist Melissa McKin...