My students are going to make their own handmade paper Wish Bowls. They'll write their wishes on rice paper, roll them up and tie them. When their wishes come true they can add some new ones.
Handmade paper is one of the most fun, but also messy projects.
The Process is as much fun as the Product.
Summer is perfect because you can do it outside.
I love the idea that the paper becomes the art instead of the surface for the art.
Handmade paper can be made very economically with just a little bit of prep.
You'll need:
A blender - great thrift store or yard sale item.
Paper -
I use construction paper, but you can use newspaper, or anything made of paper that you want to recycle. You can also buy Linter Paper made especially for paper making. It is very soft when it dries because it's made out of cotton.
Water
Newspaper
Felt
Sponges
Window Screen Moulds
See below for instructions on how to make these out of embroidery hoops.
Various water containers and trays
I use fiberglass window screen - sold by the foot at home improvement stores ($1.29 foot), and wood embroidery hoops.
One foot of screen will make about 3 Moulds.
Simply cut a square of screen larger than the hoop and lay it over the inner hoop, then keeping the outer hoop as small as possible (so the screen stays tight) push it over the screen. Tighten the screw as tight as it will go and now you're ready to make paper.
You want to make the paper on the top of the screen:
Not on the inside where the rim is:
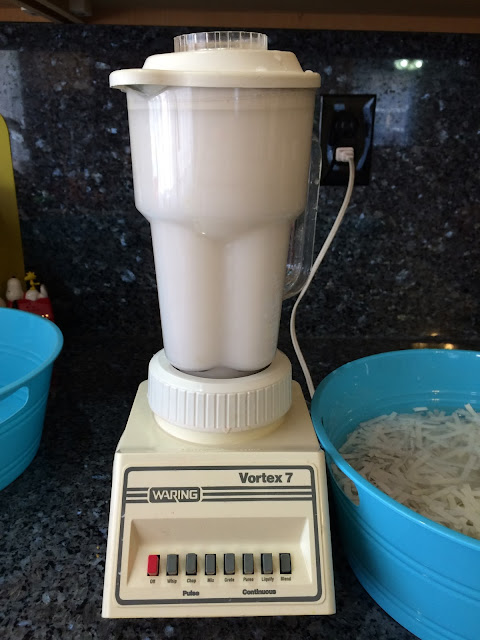
Soak your torn or shredded paper overnight to soften it. Otherwise your blender motor might overheat.
This is white construction paper put through the shredder and soaked.
Your paper should be a 1 to 4 ratio to water, or 1/4 paper to 3/4 water.
You will have lots of water left over - that's the messy part.
I use the lowest setting and pulse a few times then the highest setting until it seems well blended.
The kids love to push the buttons and watch the process.
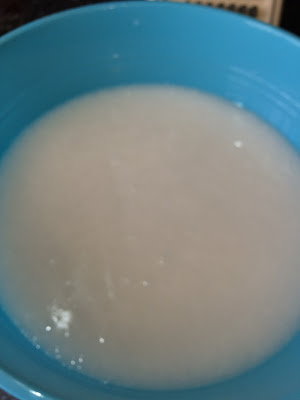
Now that it's blended dump it into a container that the hoop will fit into. Make several batches and then start making paper.
You can also use colored paper.
Stir the paper pulp with your hand so it's not all settled to the bottom and dip your screen under the pulp. Pull the screen upward and let the water drain leaving the paper pulp on top of the screen.
This is called "pulling a sheet of paper"
This is the screen draining. Next you can either use newspaper or felt to press out the excess water.
Newspaper if you're making flat sheets of paper, felt for shaping paper such as the bowls.
Press the newspaper over the top of the screen to get some water out of the pulp, and then turn the screen upside down and lift it off the newspaper.
This is a sheet of paper that will dry and peel right off the newspaper.
This is felt over the paper, press gently and let the water go onto the newspaper.
Wring out your sponge and wipe it over the felt, wringing it out repeatedly. When it is more damp than soaked turn the hoop face down with the felt underneath and it should fall off the screen. If not try getting it started by gently pulling an edge.
This is the paper on the felt.
Now you're going to try and center the paper over the bowl and gently lift away the felt, laying the paper over the bowl.
Try and use a very smooth bowl.
Gently shape the paper to the bowl, making folds if you need to.
You could leave it plain, but I'm going to add these threads crisscrossing the bowl and then another sheet of paper over the top of them.
I'll add some glitter to the paper pulp too:
Here it is ready to dry - If you leave it outside in the sun it could dry in only a day.
I sprayed the inside with glitter spray, and added some wishes written on rice paper, rolled up and tied.
I also put in a few sequins and gems just for fun.
When your wishes come true put some new ones in : )
Student work:
One layer of white with pink over the top.
From the side...
You can paint this or seal it with a sealer, but I'm just going to leave it like it is.
You can also use this method to cast paper - I used some sea shells and cookie presses - the possibilities are endless.
When the paper is dry it just peels off - be gentle.
Have Fun!!


