Thursday, December 18, 2014

Oil Pastel Christmas Tree in a Snowstorm

This is a great project that students can succeed in drawing all by themselves because it's quite easy and very forgiving.  They'll learn some basic oil pastel techniques (work dark to light), and begin to see how the oil pastels blend on the paper.

Begin with black construction paper and they can draw the window with a ruler like this:
Want to add an element of math to your lesson - here's your chance.
I taught young elementary students so I brought a rectangle of white card stock for them to center on their black paper and trace with white pastel.

Next have them put a green dot just below the top of the window and centered in the middle.  Demonstrate making a very small triangle of up and down lines with a dark green pastel.  Demonstrate continuing this technique, making the lines longer and wider as they go downward.  They will continue to do this until the tree fills up the window and is at the bottom - or almost.

Tell them not to worry if it isn't perfect - nature isn't perfect and the snowstorm will hide any flaws they think they see.
Now add a layer of lighter green lightly over the darker green - leaving some of the darker green visible.
If you have another green,  layer that one too - giving the composition depth.
Finally add a yellow green.
The next step is adding red lights and a yellow star to the top.
I told them to add 7 or 8 lights, and to randomly place them on the tree, keeping in mind that there will also be blue and yellow lights.  They will have to draw the red on dark to get it to show up over the green.  We will add the lighter accents later.
Repeat this step for the blue and the yellow.
To make the lights glow add a little bit of pink, lt. blue, and lt. yellow to the center of the matching lights, and then add a tiny bit of white on top of the lighter colors.  The star can look like it's glowing by smudging it with a finger and then redrawing the lines of yellow in the center.
The next step is to do the outside of the house.  I chose brown like a log cabin and did stripes, not worrying too much about spacing - it doesn't have to be exact.  When I had the first side done I used a ruler to match the other side - see above.
I added another shade of brown and then put a very light shade of grey over that.
Now demo measuring and drawing the window panes on the window with a ruler and white pastel.  They will have to go over the green of the tree several times with the white to cover the tree.
Then show them how to do the vertical lines to finish the windowpanes.  They will need to outline the window and make it thicker than the window panes inside - they can also add a little drift of snow over the bottom of the window if they like.
The snowstorm is added by doing feather light white pastel lines over the entire composition both horizontally and vertically.
Then they add large and small snowflakes all over until it looks like it's very cold and snowy - and finished!
Brrrrr!!!

This is inspired by a Pin on Pinterest I found, but there weren't any directions.  I changed it a little bit.


Monday, November 24, 2014

Candy Cane Elf Christmas Ornament Craft


With Elf On A Shelf so popular right now, I've seen several of these cute guys on Pinterest and wanted to try making my own.  When I found some plastic candy canes at Dollar Tree I decided to make my own version.  
These ones won't get taken apart to eat the candy canes after all that hard work!
Here is a link to the one I saw on Pinterest - she uses die cuts I think, which I didn't have.

So my version:
You'll need:
Candy Canes
Cardstock
Google Eyes
Pom Poms
Jingle Bells
String/yarn/or ribbon
Colored Pencils
Hats - Or make your own


I found the Candy Canes at Dollar Tree and the Hats at Hobby Lobby

Begin by hot glueing the candy canes together at the top, I'm going to have mine pre-glued before I try and teach this to my students.
Add the string by looping it between the candy canes.

Next cut out the mittens, shoes, clothing, collar and head - all on a fold out of card stock- pattern below.


The string is threaded through the top of the elf clothes and collar and then they are glued on the candy canes.  Tacky Glue works well.
Put some glue inside of the shoes and mittens and glue them over the ends of the candy canes.

Punch a hole in the back of the head, draw the hair and other facial details, glue on the eyes and the hat.
Thread the string through the hole in the back of the head and then glue the bottom of the face over the top of the body.  See below:

Add any embellishments you desire - pom poms, bells, glitter, gems etc...

Now they have their own elf to decorate the tree year after year, or to play with.

Student Elf

I was featured on Fun Family Crafts


Tuesday, November 18, 2014

Let Heaven And Nature Sing Nativity Art Project


Every Christmas I can't resist doing at least one Baby Jesus Art Project.

Supplies needed:

Colored paper - I used cardstock - blue, brown, black, white, pink, lt. and dk. grey, yellow.
glue
silver glitter
gold doily or gold glitter
Paper Punches
Fine tip black marker
pencils
Pink colored pencil
Star shaped paper plates

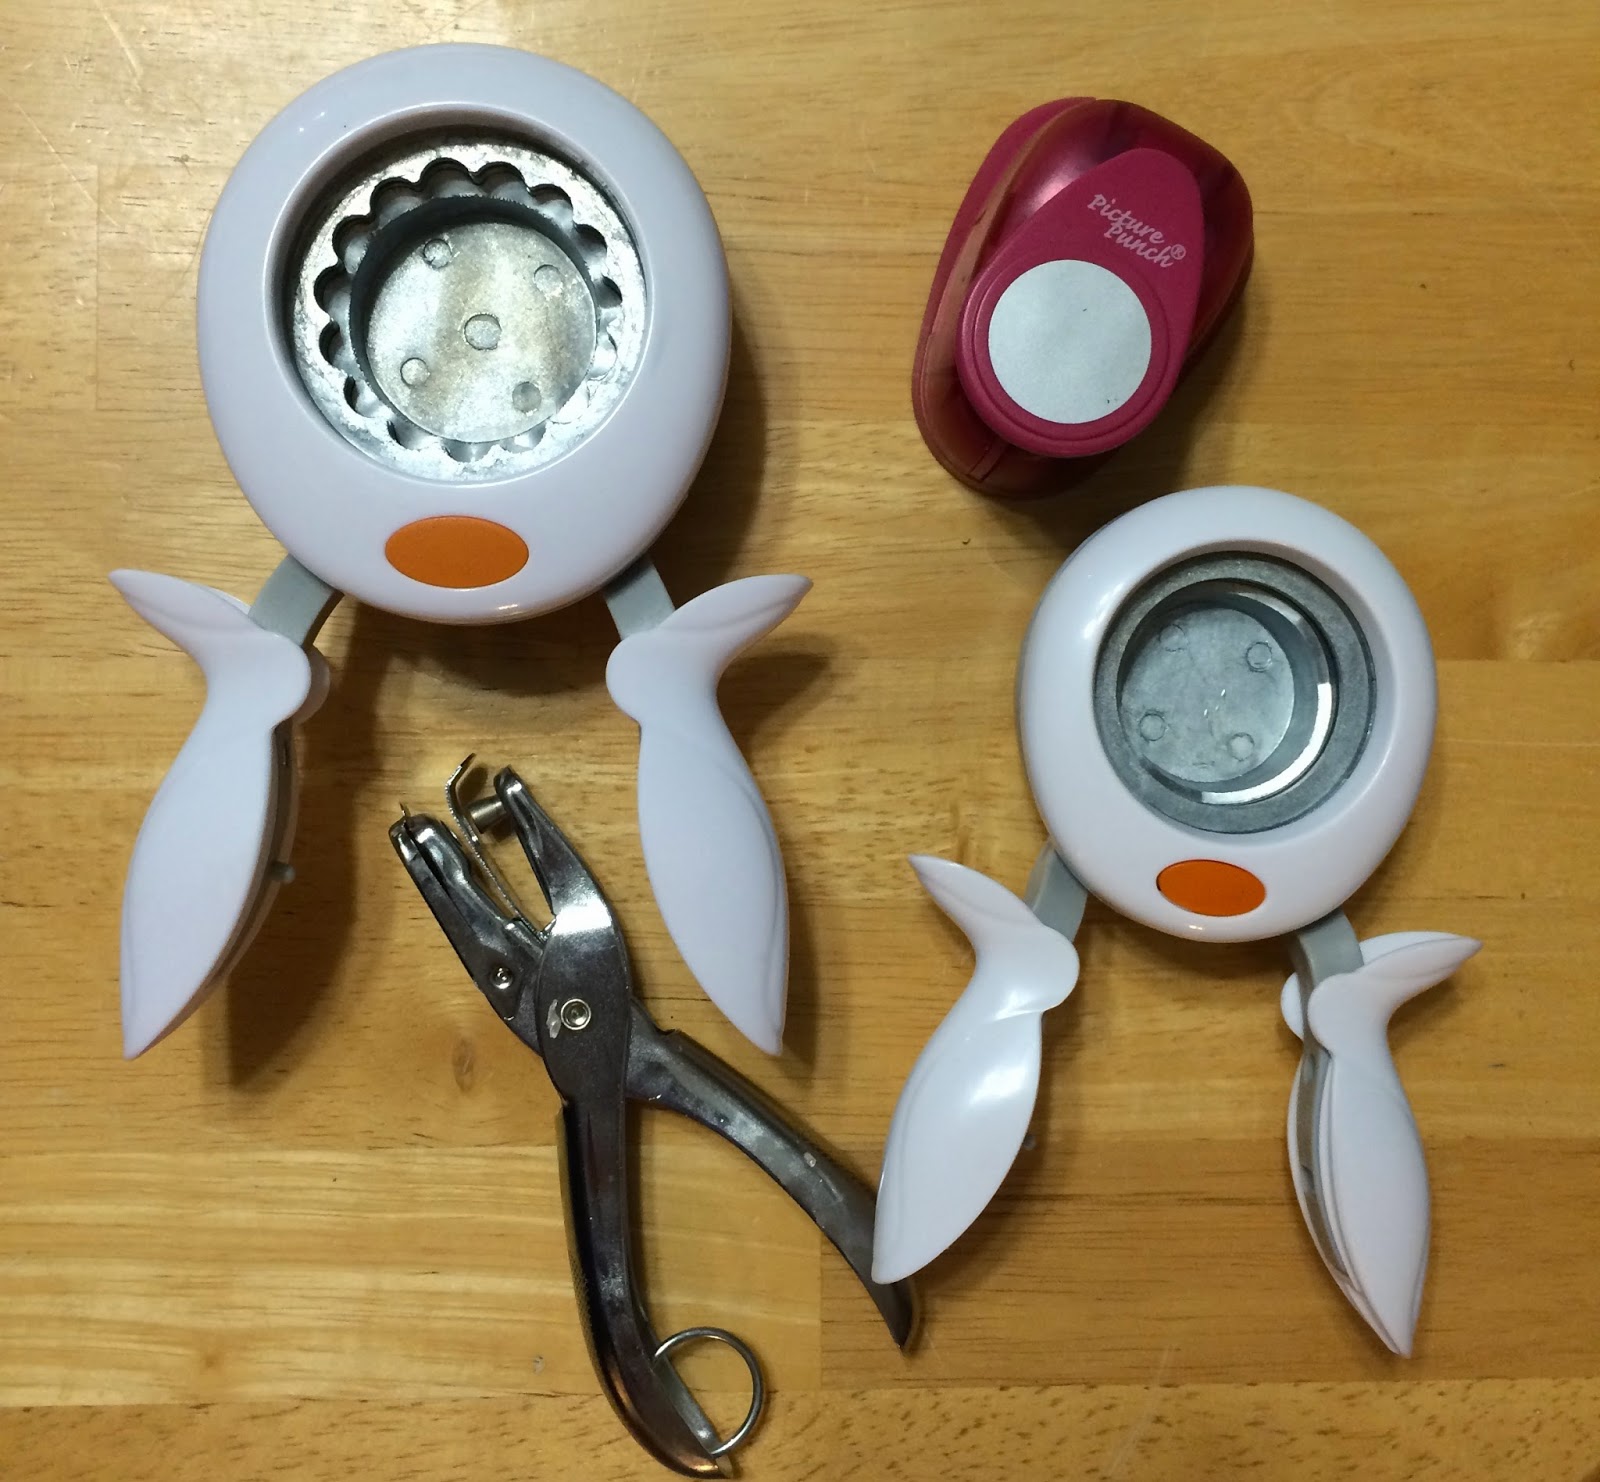
You can pre-punch the shapes out of paper, or give them the paper and the punches.  They like using the punches and there are enough different shapes they would be able to trade back and forth.  You could also have them trace different sizes of circles and cut them out.

I was thinking this would be an easy project for young students to feel very successful.  It also shows them how easy it is to use simple shapes to represent animals etc...


The smaller circles are 1" and the larger are 1 1/2", the noses are made with notebook paper punch, and the sheep are a 2" scalloped circle punch.

Below is a pdf pattern for the manger, blanket and cow and donkey ears and horns.

I'm going to cut a few of the manger and blanket out of card stock for them to trace - I think they can do the ears and horns freehand.

Demonstrate assembling the animals and Baby Jesus including adding the faces and rosy cheeks. 

Baby Jesus has a halo made by cutting a gold doily apart in a circle and putting it behind his head.  You could also use gold glitter. 

Once they have all the animals assembled and Baby Jesus they can arrange them on the blue background before gluing.

They can add some silver stars with a few drops of glue in the sky covered with the glitter.

I found some metallic gold star paper plates at the Dollar Tree and used those for the background, but you could also cut out star shapes.

Print out some banners that say "Let Heaven and Nature Sing", "All Hearts Prepare Him Room", or "O Come Let Us Adore Him" to glue at the top.

Create a hangar and glue it to the back - I used some tinsel stars on gold wire that I had - and hot glued it to the back. Yarn, ribbon or string would work too.

Merry Christmas!


Monday, October 13, 2014

Glowing Ghosts

This is a fun chalk pastel project for any age!

I'm going to do this with a class of elderly students who have a hard time tracing so they will make the fence out of white paper strips and glue - like the one above.   My younger students will be able to trace around the fence stencil, like below.  I'll demonstrate each step as they progress.

I'm going to show my students examples of different kinds of ghosts, they can draw their own on card stock and then cut them out.
If you have students in need of a stencil here you go:
So first they'll make the fence - either with paper or chalk.  Then they will make their ghost shapes and decide where they want to place them on the page.  
I'm going to talk about balance and how important it is in composing their artwork.
They can move the stencils around on the black paper until they have a balanced composition.


They'll trace their ghosts with white chalk.

Next they can choose another color to trace alongside the white.  Faces are last.

I chose cool colors for the ghosts and warm colors for the harvest moon.  Another topic to bring up with your students - warm and cool colors.
When they have completed this they use their fingers to rub firmly along the outline of their ghosts in a pattern that radiates outward, making a glowing outline.  

Finally the faces are added to make the ghosts friendly or scary - they're BOOtiful!


Sunday, September 14, 2014

Crayon Batik Pumpkin In The Moonlight Color Value Lesson


I've been wanting to try crayon batik for a long time.  I love using a pumpkin for this project because the orange and black look so good together, and they are so easy to draw any age group can do it,  plus I just plain love pumpkins!
You'll need:
Crayons
copy paper
waterproof ink/black watercolor paint
brushes
newspaper
pencils

Start by having the students draw a pumpkin that takes up most of their copy paper.   
Show them how to draw the curved lines across the pumpkin to give it a more 3-D look.

The next step is to start with yellow - working light to dark to show the gradation of color and value in their art.  For example the orange of the pumpkin goes from a yellow orange to a darker orange - the yellow orange is a higher value (brighter) than the orange.
I'm going to ask them what does the value of the color do to the pumpkin?  Hopefully they will answer with -  it creates reflection and shadow - showing depth and making the pumpkin look real or  3-D.  
Apply a layer of yellow and leave the space for the curved lines empty for now.
I tried doing the black outline first and the black crayon smears into all the other colors - so I leave it until the end.
Next apply a layer of yellow orange and then finally a layer of orange.  I will demonstrate each step and then let them work.
The pencil lines will get covered up with the ink or with crayon.  Demonstrate how the pressure of the crayon on the paper can create darker and lighter areas and how to blend colors together.
They need to get a nice thick layer of crayon on the paper for the batik.
They can do the stem the same as the pumpkin - light to dark with shadow towards the bottom of the stem.
Add a sandy color below the pumpkin so it isn't floating in space.  Then add a brown layer closest to the bottom of the pumpkin and a night color like blue or purple. 
 Pumpkin in the Moonlight
The last color to add is black...
Now crumple the paper loosely into a ball one time and flatten it back out.
Then paint the ink or black watercolor paint on the paper - the crayon will resist the ink and it will go into the folds and uncolored areas creating a batik effect.
If the ink is sitting on top of the crayon just take a damp paper towel and go over the paper once to remove it.  Too much water on the towel and too much pressure could cause the paper to tear so be gentle.
I crumpled this one once but the one below twice.  You can decide which you like.

I like how the color POPS off the page!  Great Fall Project!


Wednesday, August 27, 2014

Napa Vines At Night Printmaking Lesson

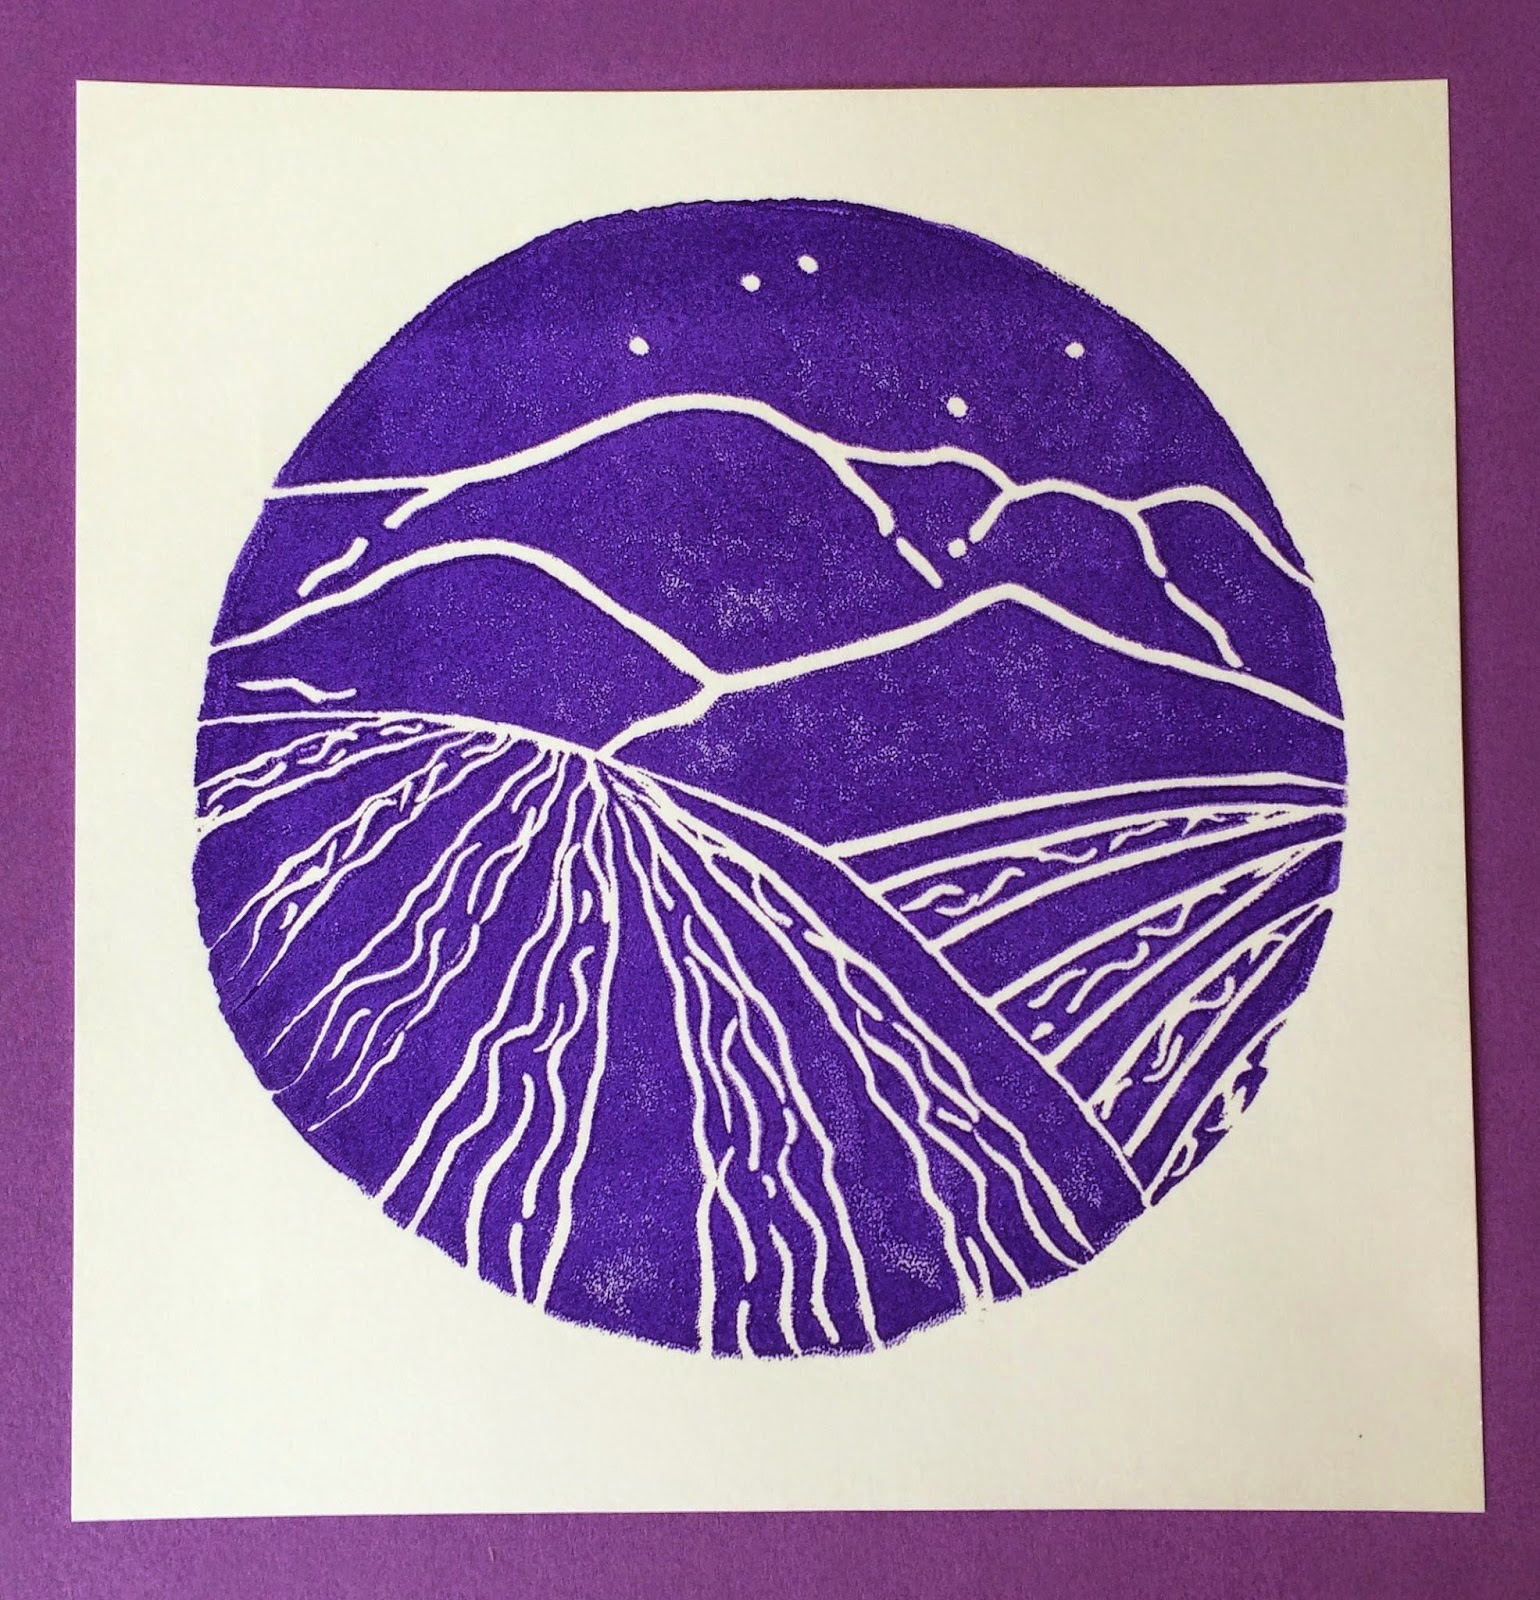
I came up with this lesson as a fun way to start out the school year here in Napa.  I wanted to teach the students about perspective and do a lesson relevant to our area.  We are in the middle of "Crush" here which is Harvest Time for the grapes.  This could be done as a drawing or even painting project, but I chose printmaking.

Using a foam plate I cut the curved part of the plate off, leaving a nice flat circle for the students to draw on.  We'll do some sketches on paper first and then draw on the foam.  I'll ask the students how does an artist make things look closer or farther away and we'll work on one point perspective.

Start with the mountains, then the foothills, and finally the hills with the vines.  Practice starting the vines and finishing them so they look closer and farther away.  I added a few stars to the night sky.

Here is what the foam plate looks like, wherever the student draws into the foam will print as a white line.  Note - the image prints backwards.

Using water based ink, a breyer and a plexiglass square for the ink each student can ink their plate and press the plate on paper to create their print(s).  I put newspaper under everything to limit the mess.  I have them use a soft cloth to rub the back of the foam firmly to get a crisp print.  
Now they can number and sign their artwork!
Happy Harvest or as we say here in Napa - "Crush"!

Wednesday, August 20, 2014

2"X4" Block Pumpkin and Frankenstein


These are very easy to create, once you have all the materials: 

Wood blocks
Acrylic paint in orange, green, silver and black
Sharpie Pens
Bamboo pumpkin stems
Wood Thread spools
Raffia and Ribbon

I had Home Depot cut 2"X4"s into 6" lengths for me.
I used a plastic pipe cutting tool to cut approx. 1" lengths of a bamboo stake from the garden dept.

I'm going to have my students paint their block orange or green.
While that dries they can paint the thread spools or decorate the stem.

After practicing some faces they can lightly draw the face with a pencil.
Using a sharpie they can draw the faces, stitches etc...
I'm going to have them use paint for Frankie's hair.
I used this pin from Pinterest as my inspiration for Frankie:

Use hot glue for the stem and the bolts.

If they choose the pumpkin they can leave it out for Thanksgiving by turning it around to the plain side : )
This is a project that lasts forever and brings back memories of the young artist each year it gets put out on display.
Sometimes the simplest ideas are the best!


Fall Aspen Tree Art Lesson for Children, Step by Step

 Impressionist Aspen Trees In The Fall Elementary Art Lesson I love how colorful these are - I took my inspiration from Artist Melissa McKin...