This lesson focuses on
"Unconventional and Unexpected, American Quilts Below the Radar 1950-2000"
On Exhibit at Sonoma Valley Museum of Art - Feb. 14-May 17th 2015.

Lesson 1 -Students will view the quilts, discuss them and learn about them. Then I will give them a piece of grid paper to do some quick exercises in designing their own quilt square.
Lesson 2 - Color theory will be discussed focusing on what colors look good together and how to put together a quilt square using color knowledge. Students will then choose a design that uses strips of paper and build their own quilt square with a solid background and patterned paper. This is one example - but they will have a few to choose from.

This square focuses on complimentary colors and balance.
Lesson 3 - 4 - Students have learned about quilts and experimented with designing a quilt square. Next they will each make their own square of a "Class Quilt" patterned after the String with Grid Quilt above. We'll focus on this quilt for a while as a slide - discussing how they think it was made and why the artist didn't make all the strips go in the same direction? Why all the grid colors are not the same? Why they used the colors they used? etc...
Necessity is the Mother of Invention. For the most part, the reference to historical pattern in this collection is refreshingly free and loose - there is no apparent need to rigidly conform to convention or expectation, whether by accident or by design. Colors and prints are mixed unconventionally and that is what makes many of these quilts so exciting. The beautiful truth of making do is that the act of sewing two random and perhaps clashing pieces of fabric together means they now "go" together, simply by virtue of being stitched together into one object. That the combinations are partly the result of happenstance, rather than careful consideration and forethought, is the magic. Denyse Schmidt, "The Beauty of Making Do" from the Book: Unconventional and Unexpected: American Quilts Below the Radar: 1950-2000.
I'm going to have several strips of patterned and solid paper cut for the students to choose from. Some will be straight and some will have an triangle or random shape, thus enabling the students to create a square similar to the String with Grid quilt above.
I think this assignment will be more challenging for the students than creating an exact pattern using triangles, squares, or strips. They will have to fit the strips together like putting together a puzzle, making decisions about which colors and patterns look good together and which don't until they have their final design. They will be going through the same process the original quilter did - taking what they have and fitting it together into a quilt square. They won't be able to glue their design until they have experimented for a while.

They can go off the edges of their 9"X 9" square - we can trim the edges after it's glued.


This square has a blue and orange complimentary color scheme. There is strip of yellow in there too, but somehow it works.
The students will need to add an unusual strip into their design as well.
I especially enjoy what some traditionalists may see as imperfections, or mistakes, in these quilts - a random fabric here, a wobbly edge there, a seam that doesn't align. These "mistakes" make the quilts come alive and give us a sense of the people who make them, along with some hint perhaps of their individual stories. They draw us in because they are surprising and intriguing, and somehow forgiving.
While our minds seem to crave the repetition that is inherent in a quilt pattern, the variations on the theme - especially when subtle and surprising- spark our imaginations and make us see more, and look harder, for all the delights the piece might offer up. They keep us interested. Denyse Schmidt, "The Beauty of Making Do"

Lesson 5 -
Once the students have completed their quilt square we'll work on a "Wish Patch". As seen in the quilt above - quilts don't have to be perfect and sometimes a patch is needed. They are going to do a quick worksheet about what their wish is and then draw their wish. I'm going to ask them to "shoot for the moon" and not limit themselves, but please don't wish for a new video game or other monetary item. Giving them a chance to give us a sense of who they are and their individual stories and making the quilt more interesting and surprising... as quoted above.
Then they will draw their wish with pencil, outline it with Sharpie and color it with colored pencils.
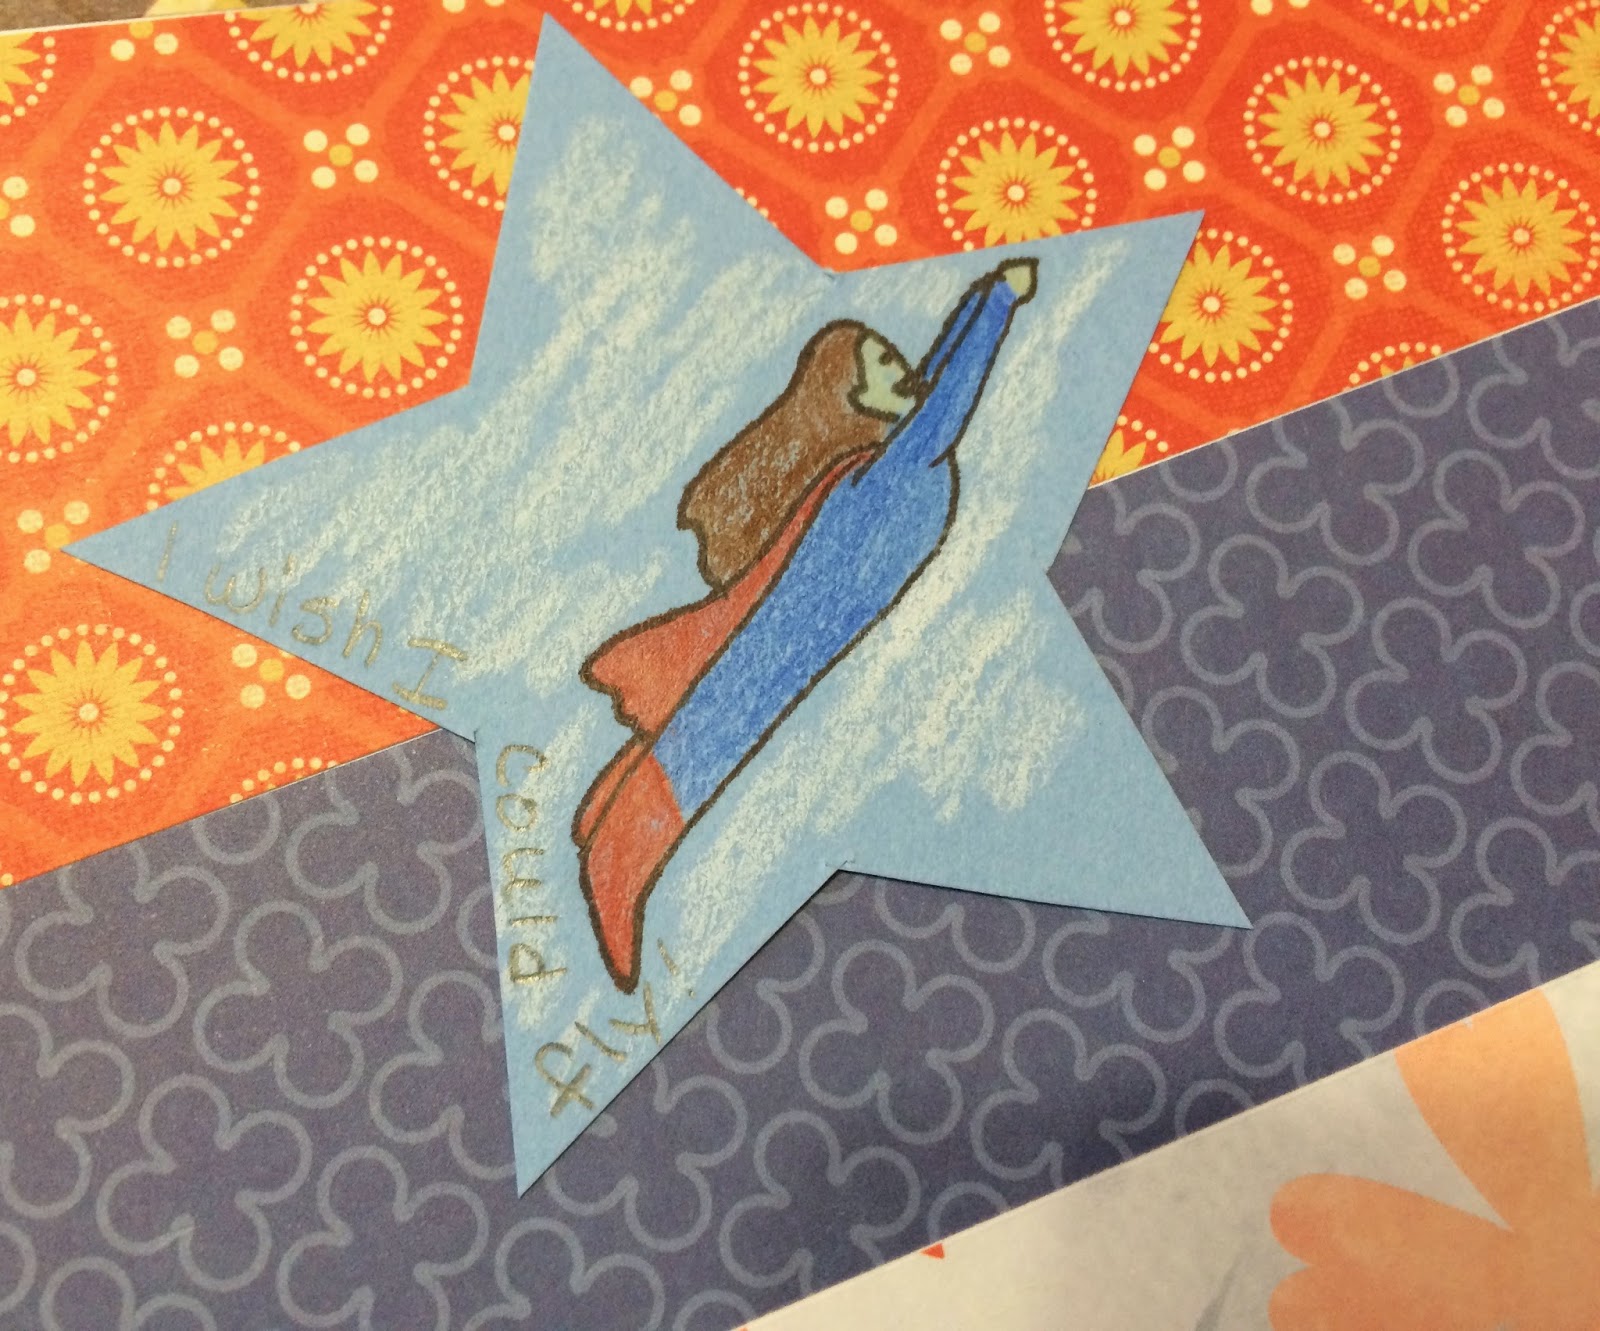
The wish patch can be any shape - I chose a star and the reflection makes it hard to read - "I wish I could fly" They will need to decide where on their square the patch should go.
Using a hole punch we'll measure and punch holes in the border around the quilt squares. Then the students will use yarn to tie the each others squares together - like a Quilting Bee. Quilts are tied with yarn similar to this so they will get to experience some of the actual quilting process.
As soon as I have some photos of the class quilts I'll add them - here are two squares I made as examples:

El Verano 4th Grade Hopes and Dreams Quilts:


No comments:
Post a Comment
Note: Only a member of this blog may post a comment.